Learn to Sketch: Part 3
“This article provides three new sketching exercises; learn how to draw proportions, exploded views, and how to use cross-section to aid in the visualization of internal details.”
As engineers, we often need to conceptualize (and sketch) specific geometry such as specific wing shapes, specific gear trains, or a new component that needs to fit in a specific spot on an existing device. In this article, I’ll share a few insights and exercises designed to help you produce sketches of specific geometry, including cross-section sketches, and exploded-view sketches.
First, we must acknowledge that sketching specific geometry is more difficult than sketching random geometry. If any random shape will do, an untrained hand can sketch whatever it wants and claim success. But when we have to sketch specific geometry (like a Lego brick), inaccuracies in the resulting sketch are more obvious, and areas for improving our sketching skills are more easily identified.
Of course, it’s frustrating to produce inaccurate sketches.
The good news is that the inaccuracies in our sketches are always a matter of simple math (i.e., the bisection of lines, the orientation of ellipses, adherence to vanishing points, etc.). To show you how this works, I’ve chosen three products with specific and relatively known proportions; a nut (as in the hardware), a Lego brick, and a USB drive. When you first sketch these products as part of the exercises in this article, you will likely produce inaccuracies that can be easily fixed by paying close attention to the simple math and the proportions described next.
The Proportions of a Nut
In Exercise 7 below, you’ll sketch a nut. To get the proportions correct, use the image directly below as a guide. First I sketched line segments AE, HI, and AH, in that order. Line segment EI was sketched next. Its location is critically important to the nut’s proportion and the accuracy of the final sketch. We want to sketch line EI such that AEIH would form a perfect square if viewed from the top. The challenge here is that because the nut is sketched in 2-point perspective, lines AE, EI, IH, and HA will not have equal length in the sketch.

Next we find points F, G, and C. While you’re practicing, it can be useful to draw lines AI and EH as a guide for line FG should be located. It is also helpful in finding point C, which is on the line that bisects FG perpendicularly. Using a similar approach, point B and D can be found. Point B is equidistant to points A and C. Likewise, point D is equidistant to points C and E.
The hexagonal profile of the nut can be sketched by connecting points FB, BD, DG, and so on. It can then be projected to the bottom side of the nut by drawing vertical lines through each of the hexagon’s vertices, and identifying where those vertical lines cross the bottom plane.
To finish the sketch, I placed the upper and lower circles for the hole, rounded the corners, and added some mostly inaccurate threads.
Although it may seem laborious, thinking about the vanishing points, the length of line segments, the precise center of the object, and so on, is a critical part of accurate geometric sketching.
The Proportions of a Lego Roof Tile
In Exercise 8 below, you’ll sketch a 2x3 Lego Roof Tile. This is a good exercise because sketching Lego bricks is difficult to do accurately, due to our hyper sensitivity to how this familiar product should look. Use the sketch below to help you understand the proportions of the brick and to think critically throughout the exercise.

I first sketched segment AD, GH, and AG in that order. Then I sketched line EF, knowing that the distance between AE would repeat itself throughout this part. To best understand the rationale for the numbers I am about to provide, see our Lego Brick article, which describes the genius of the Lego proportions. The Lego length, if you will, of segment AE is 5. AG is 10, and AD is 15. Further, the height of the cuboid on the left side of the image is 6, and the length of GI is 5. Sketching a cuboid with these dimensions is the specific geometric needed to make the Lego roof tile. Notice that the green lines in the sketch show where the slope of the brick is precisely located.
The studs (two protrusions) of the tile are centered between HF and DF in one direction, and between CD in the other direction. They are one unit tall, and three units in diameter.
Sketching a Cross-section of the Lego Roof Tile
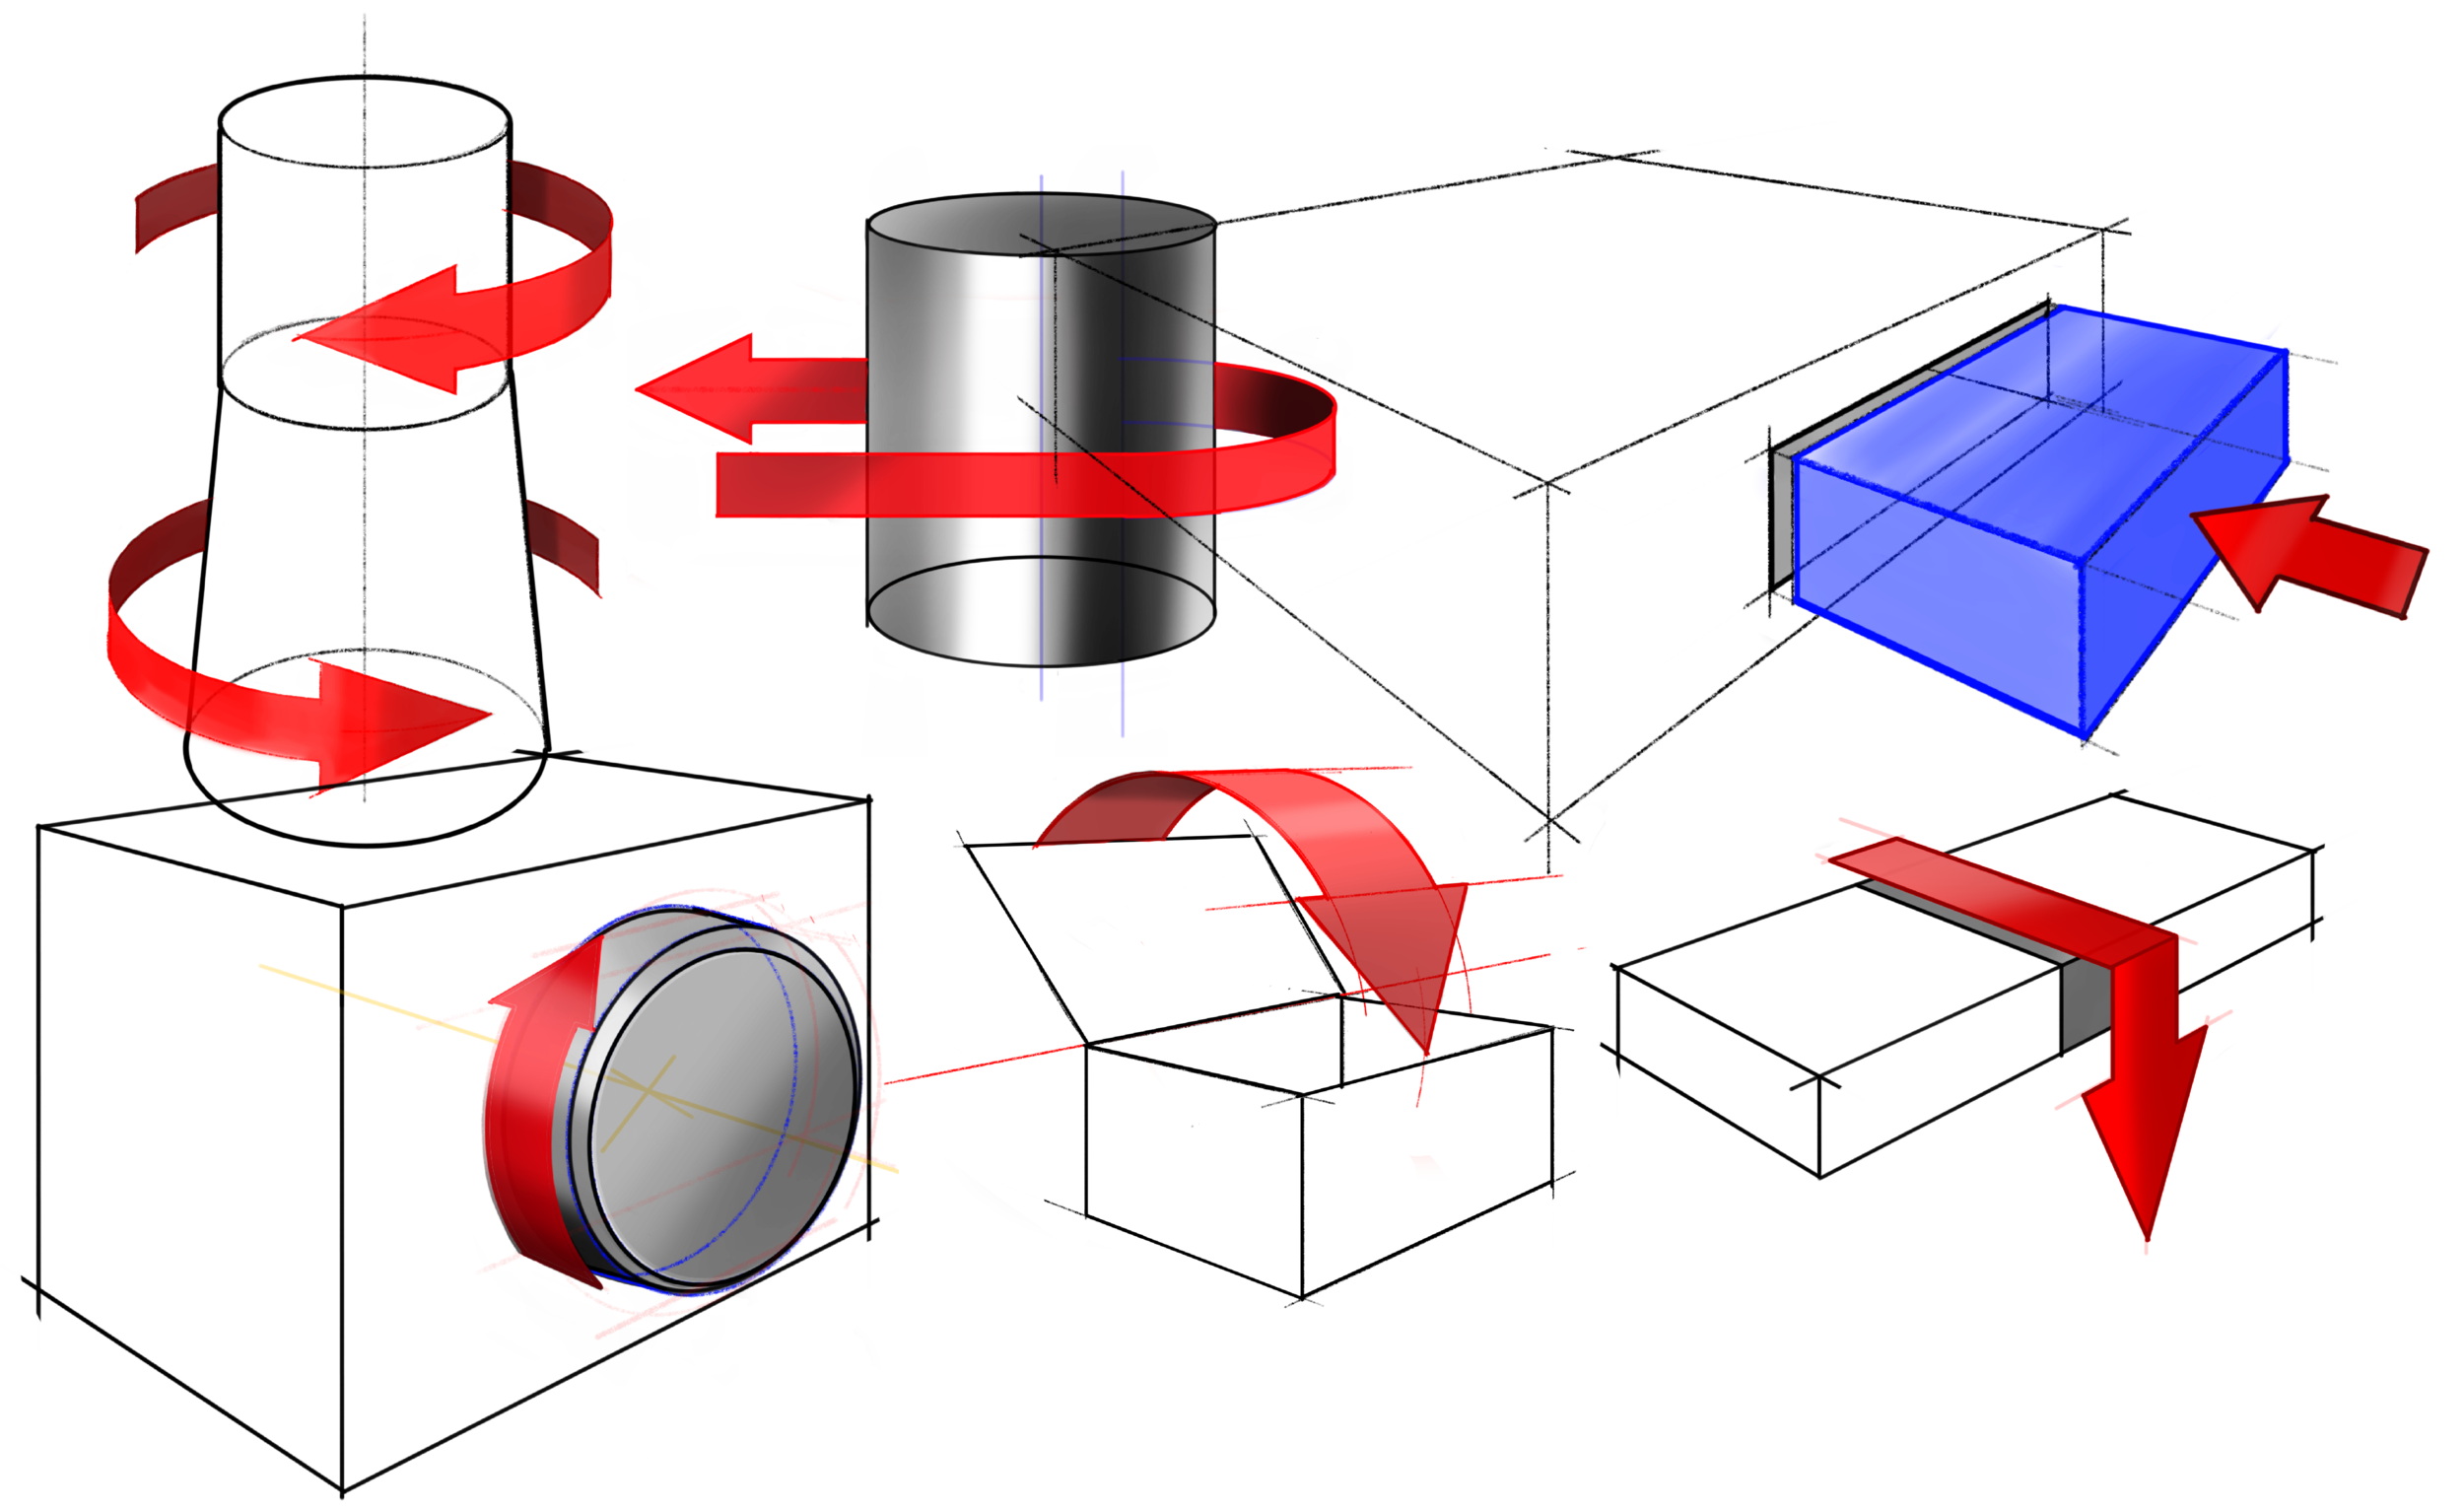
Sketching a cross-section is a useful visualization of the internal details of a specific object. As part of Exercise 8 below, you’ll make a cross-section of the roof tile. This is a good challenge as it requires you to divide the part down the middle (through points ABCDE below), and envision a constant wall thickness. It also requires you to locate the two tubes that exist on the bottom of the roof tile. These two tubes are centered at exactly 5 and 10 units from the front edge, respectively, and 5 units from the side. The inner-circle has a diameter of 3 units and the outer diameter is 4 units.

As you carry out the exercise, try to sketch according to these proportions not only because it will produce a realistic Lego tile, but because it will help you practice being specific and deliberate in your sketching.
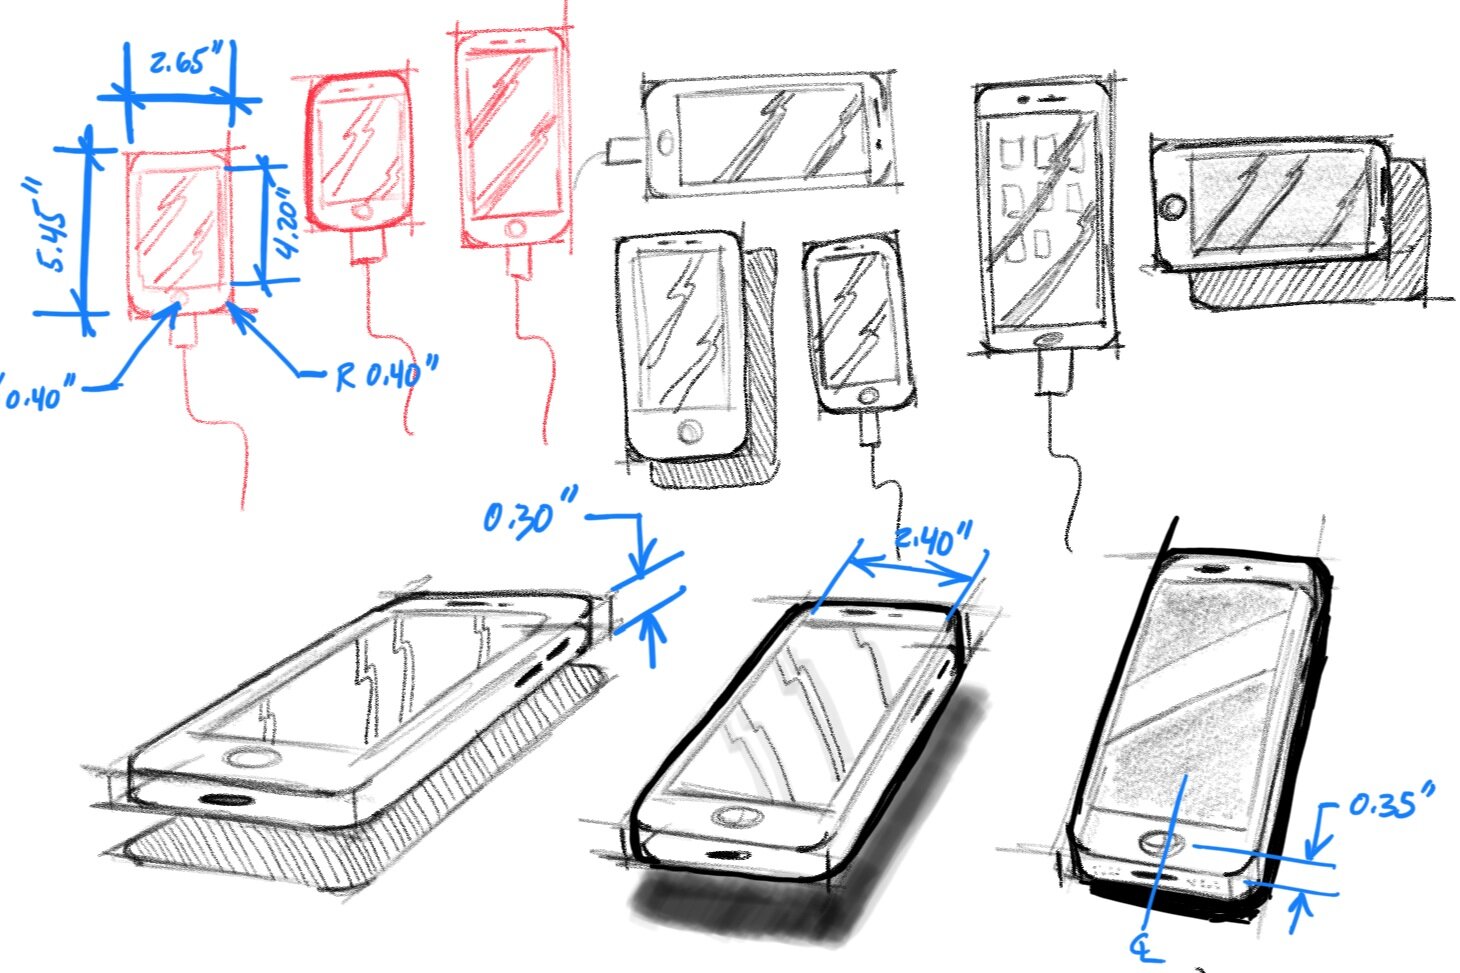
Sketching an Exploded View of a USB Drive
Another valuable kind of sketch is an exploded-view sketch, where the parts of a product are separated in specific directions, typically defined by how the product would be assembled. To make an exploded view of a USB Drive, which is part of Exercise 9 below, first imagine each part of your sketch and where those parts will be located relative to each other. In doing this exercise, I decided to have four components; top cover, bottom cover, cap, and circuit board. That choice meant I needed to sketch four planes on which I would sketch each individual component.
I began by sketching the plane defined by points ABCD. I then sketched vertical lines downward to create two additional planes in line with plane ABCD. To place the cap in line with the USB connector, I sketched line FG and completed the small plane that contains point G.

As you produce three or more sub-sketches in the same sketch, as I did for the USB Drive exploded view, it is helpful to use the same vanishing point for all of the sketches. This will make the overall explosion appear more natural.
Sketching Exercises
As you do the following exercises, focus on proportions and accuracy. These exercises were chosen because the products are so familiar to us, it will be easy to assess your accuracy. Although you’re focused on creating deliberate proportions, be OK with some error as you attempt to do these exercises quickly. Use the result to know where you personally need to focus more on fundamental practice. For example, from my exercises (shown below), it is clear that I need to work on my ellipses. To get better, I should return to the ellipses exercise in Learn to Sketch: Part 1.
Note that the numbering of this list is continued from Part 2 of this series.
7. Nut Exercise
a) Warm up for one minute by drawing straight lines and ellipses in the top fifth of the paper.
b) The first time you do this exercise, spend about nine minutes sketching and shading one nut in a 2-point perspective. Just work on getting the proportions right as described earlier in this article.
c) The second time you do this exercise spend about 4 minutes sketching a nut sitting flat on a surface, and an additional 4 minutes drawing another nut that is standing on end. Draw both in 2-point perspective.
d) For a larger challenge try sketching two nuts 90 degrees to each other with a bent bolt between them. If it takes longer than 10 minutes just do part of the work in one day and the other part on the next day.


8. 2x3 Lego Roof Tile Exercise
a) Warm up for one minute by drawing straight lines and ellipses in the top fifth of the paper.
b) The first time you do this exercise, spend about nine minutes sketching and shading one 2x3 Lego Roof Tile in 2-point perspective. Just work on getting the proportions right as described earlier in this article.
c) The second time you do this exercise spend about 9 minutes sketching a few 2x3 Lego Roof Tiles in 2-point perspective.
d) The third time you do this exercise spend about 9 minutes sketching the underside of the 2x3 Lego Roof Tile.
e) The fourth time you do this exercise spend about 4 minutes sketching the top side of the 2x3 Lego Roof Tile, and 5 additional minutes sketching the bottom side of the roof tile, directly beneath it as shown below.
f) The fifth time you do this exercise, draw the cross-section of the part right down the center as shown below.


9. USB Drive Exercise
a) Warm up for one minute by drawing straight lines and ellipses in the top fifth of the paper.
b) Spend a minute sketching 2D views of USB Drives. Do this to try to understand the needed proportions.
c) The first time you do this exercise spend approximately 4 minutes sketching a USB drive in 2-point perspective. Then spend an additional 4 minutes sketching a cross-section of the drive.
d) The second time you do this exercise, spend 8 minutes sketching an exploded view of the USB Drive as shown below. Draw additional parts if you have time, as I did on the left side of the paper.


To get the most out of these exercises, use them as actual exercises. Spend 10 minutes a day attempting to do them. 10 minutes a day is enough practice, even though at first you may not be able to finish them in that time. I suggest keeping the practice to 10 minutes so that your goal to develop sketching skills doesn’t keep you from the other things you need to do.
To really work out, do the routine below after completing Exercise Routines 1 and 2 from Parts 1 and 2 of this series.
Exercise Routine 3
Day 1: Complete Nut Exercise (parts a and b)
Day 2: Complete Nut Exercise (parts a and c)
Day 3: Return to Part 1 and repeat either Line exercise, Circle exercise, or Ellipse exercise, whichever you feel you need to work on.
Day 4: Do 2x3 Lego Roof Tile Exercise (parts a and b)
Day 5: Do 2x3 Lego Roof Tile Exercise (parts a and c)
Day 6: Do 2x3 Lego Roof Tile Exercise (parts a and d)
Day 7: Do 2x3 Lego Roof Tile Exercise (parts a and e)
Day 8: Do 2x3 Lego Roof Tile Exercise (parts a and f)
Day 9: Return to Part 1 and repeat either Line exercise, Circle exercise, or Ellipse exercise, whichever you feel you need to work on.
Day 10: Do USB Drive Exercise (parts a, b, and c)
Day 11: Do USB Drive Exercise (parts a, b, and d)
Day 12: Return to the 2x3 Lego Roof Tile exercise and draw another Lego brick (perhaps a 1x2 brick), mated to the roof tile in exploded and non-exploded views.
Day 13: Repeat any of the exercises in this routine that you want to try again.
Day 14: Repeat any of the exercises in this routine that you want to try again.
Some additional help:
Ellipses are a killer for me and I need to get more practice. This video inspires me: How to draw water bottles with spectrum noir markers
Check out Part 4, or the rest of the Sketching Short Course.
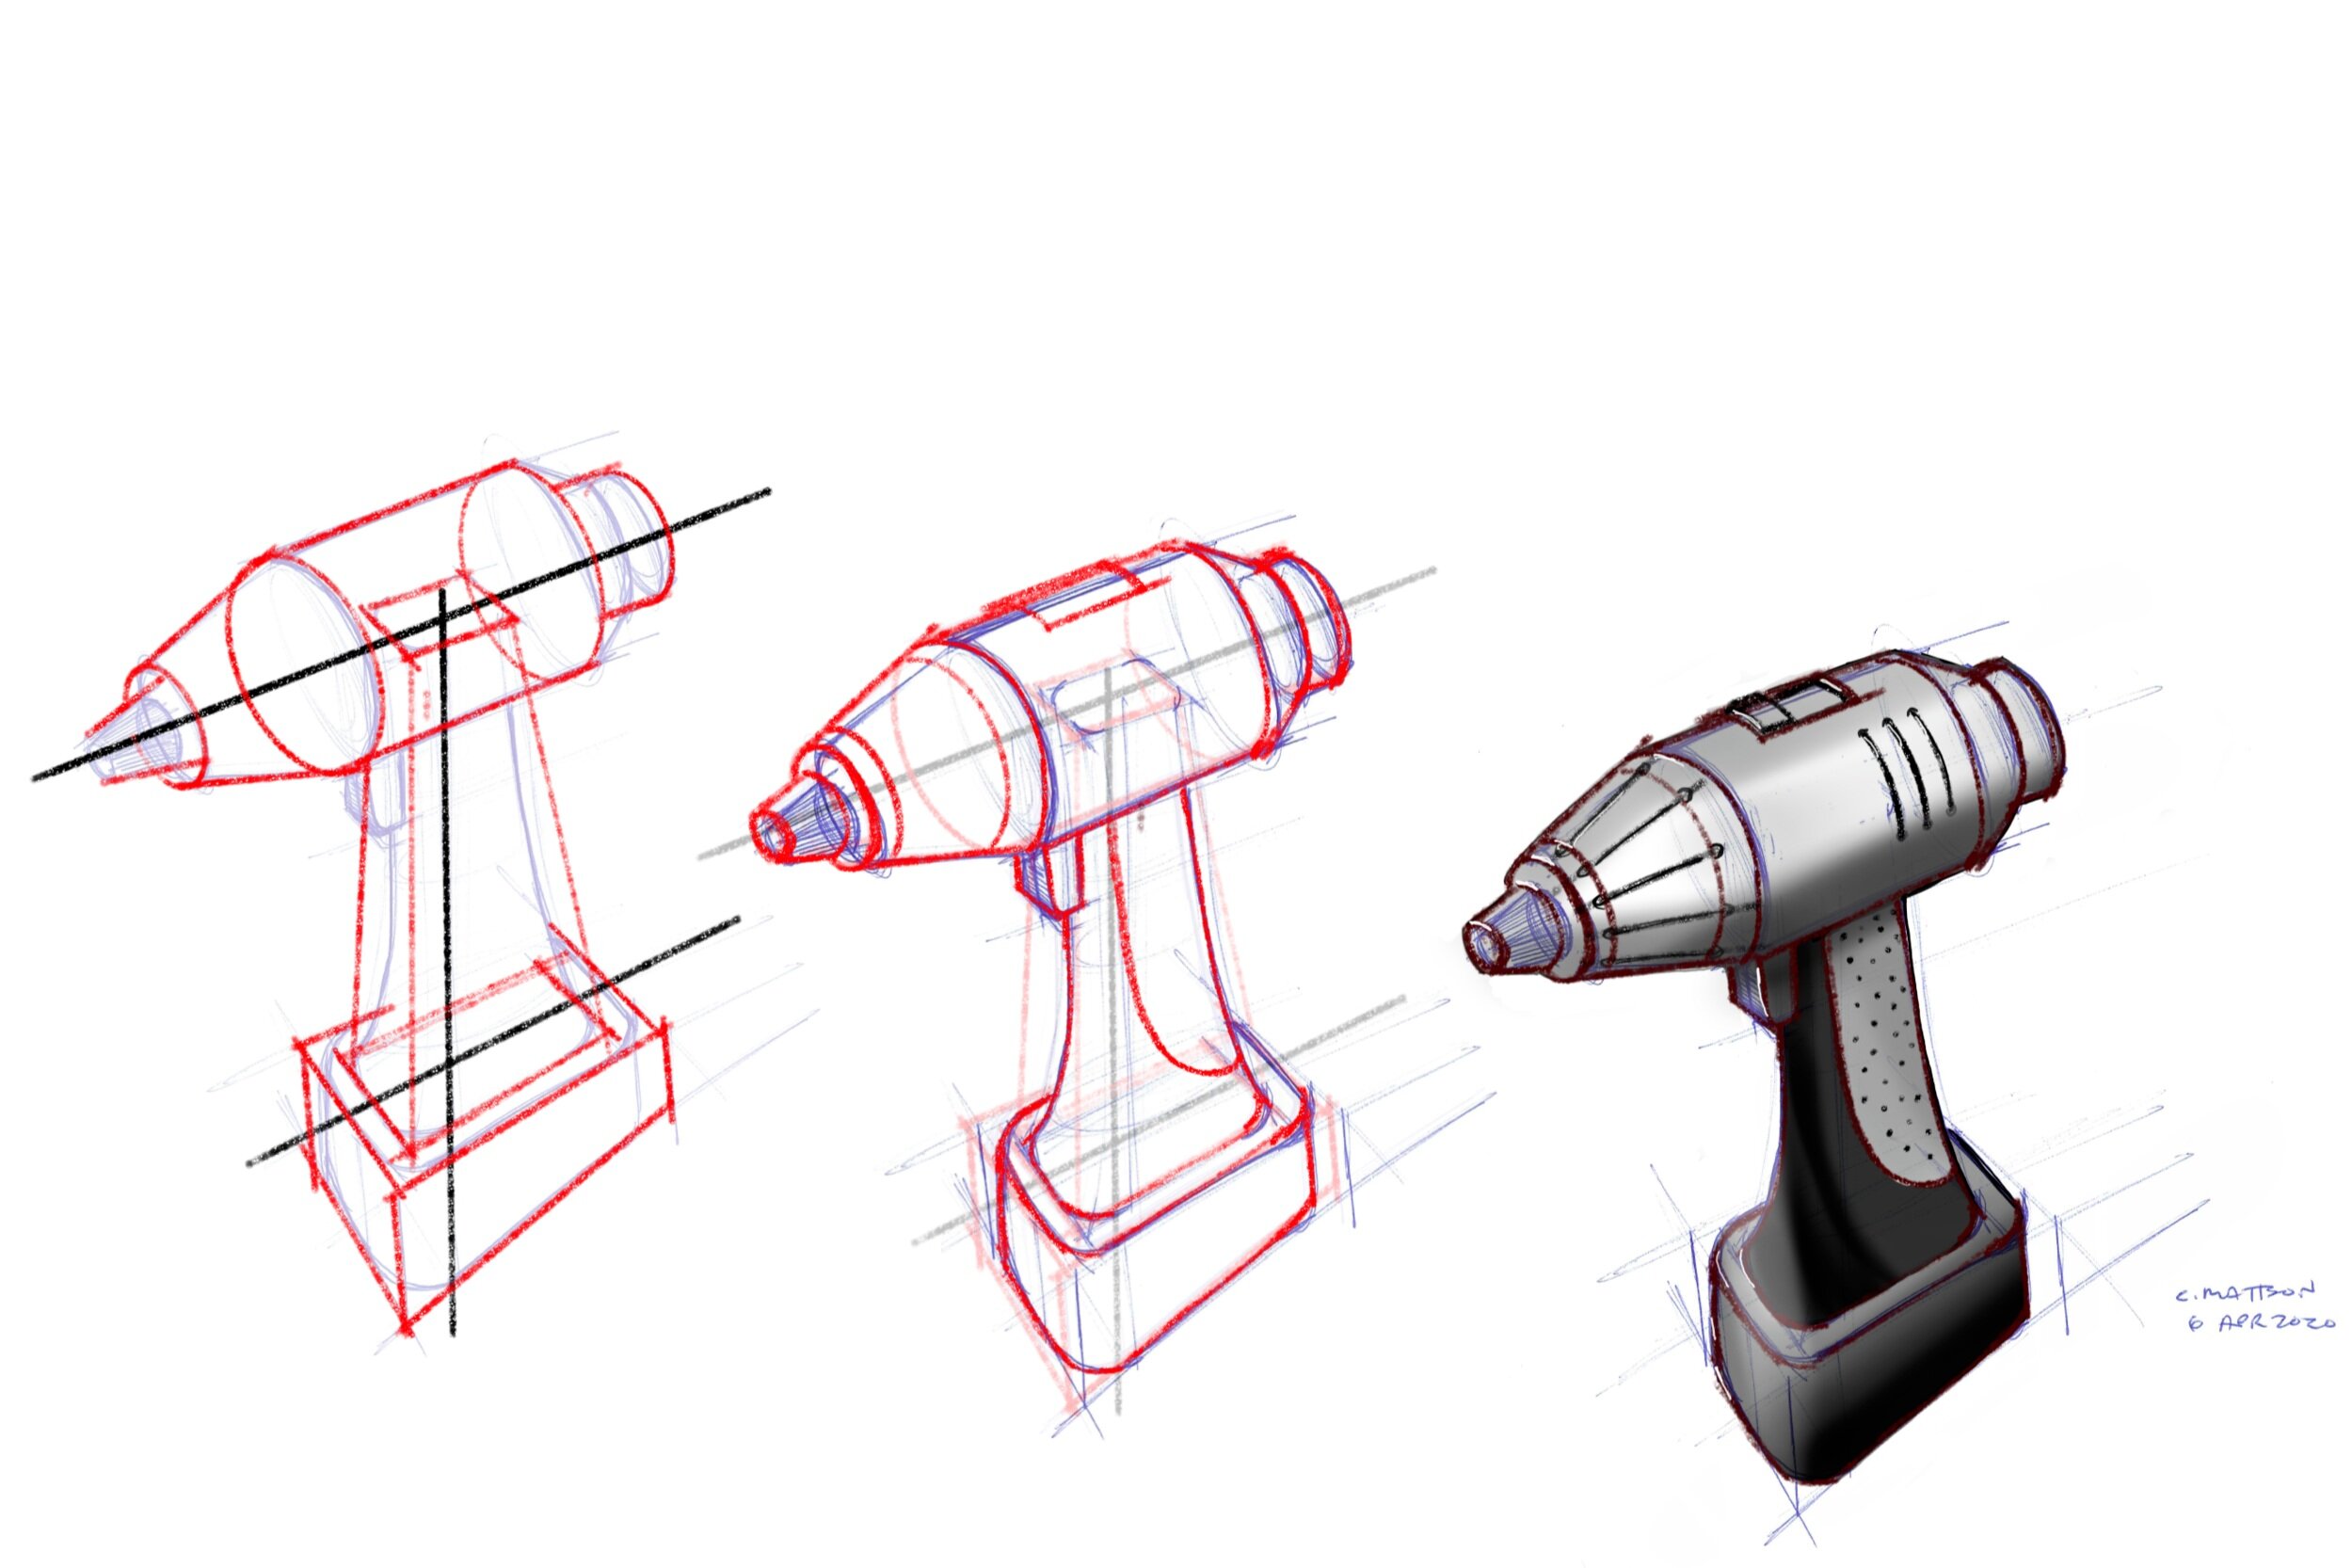
Note: Proportion sketches were done on iPad Sketch Up app. Annotations were on on illustrator.
To cite this article:
Mattson, Chris. “Learn to Sketch: Part 3.” The BYU Design Review, 23 Apr. 2020, https://www.designreview.byu.edu/collections/learn-to-sketch-part-3.