Learn to Sketch: Part 1
“Now is the time to start sketching! Break away from endless time in front of your computer screen and mix it up a bit with pen and paper. Dedicating just 10 minutes a day to sketching practice will make a huge difference in your skills.”

When I was an intern and started interacting with professionals from all disciplines, I quickly learned that the ideas that got implemented were those that were best communicated and easily understood. The skill I wanted – the skill that seems so pertinent to my job as an engineer – was the skill I didn’t have. I didn’t know how to sketch my ideas. I had no innate skill and no training, and the concept of practicing was not even on my radar. So sketching was one of those hoped-for skills that just sat there for 10 years while I did nothing to acquire it.
But then things changed, and it happened when I asked myself this obscure question: 10 years from now, would I rather be able to play the piano really well, or sketch really well? There was no doubt about it, I’d rather sketch really well. My way of thinking about it was simple: the next 10 years will pass by no matter what I do, I might as well use that time to become more skilled at something important to me. I’m only a few years in, and frankly I haven’t practiced as much as I could or should have, but I am improving.

If you have always wanted to learn to sketch, but haven’t known how to start, this article is for you. To do well, you need three things: A good mindset, some tools, and some exercises that build strength.
Sketching Mindset: One of my biggest roadblocks to sketching has been my own mindset. Some of you share this problem. To get past it, believe these key principles:
Sketching is a learnable skill. Just like playing the piano, sketching is a skill. No one is born playing the piano. No one is born sketching. So abandon the idea that “you’re just not good at it”. If you want to get good at it, you have to learn, practice, and seek feedback. And you have to believe that sketching is in fact learnable.

Embarrassment is the enemy to learning. If you are like me, you are largely embarrassed by your sketches. In your mind they are simply not good enough. You’re so embarrassed that you’d rather not show anyone what you’ve done. And actually you may not even like looking at them yourself. Let go of this as soon as you can, it is keeping you from achieving your goal.
It doesn’t need to be perfect. Draw a line, if it is not perfectly straight, draw another one. Abandon the eraser; its whole purpose is to undo. Forget about undoing, and just think about creating (I just use a pen).

Sketching does not belong to any single discipline. For a long while, I falsely believed that sketching belonged to the industrial design discipline, and that as a mechanical engineer, it was to some degree off limits, or a waste of time. I have since realized that if sketching helps me become a better mechanical engineer, then it is by no means off limits. Don’t believe me? Consider this: are equations only for mathematicians? Is computer code only for computer scientists? Is writing only for authors? Are cameras only for photographers? No. The answer is clearly no.

Sketching Tools: The only tools you need are plain printer paper and a basic ball point pen. To expand beyond this, add a straight edge, a fine tipped marker, and maybe a pen for shading. If you think you need more than this, you are confusing tools and skills. You can learn and do everything you need to with just this.
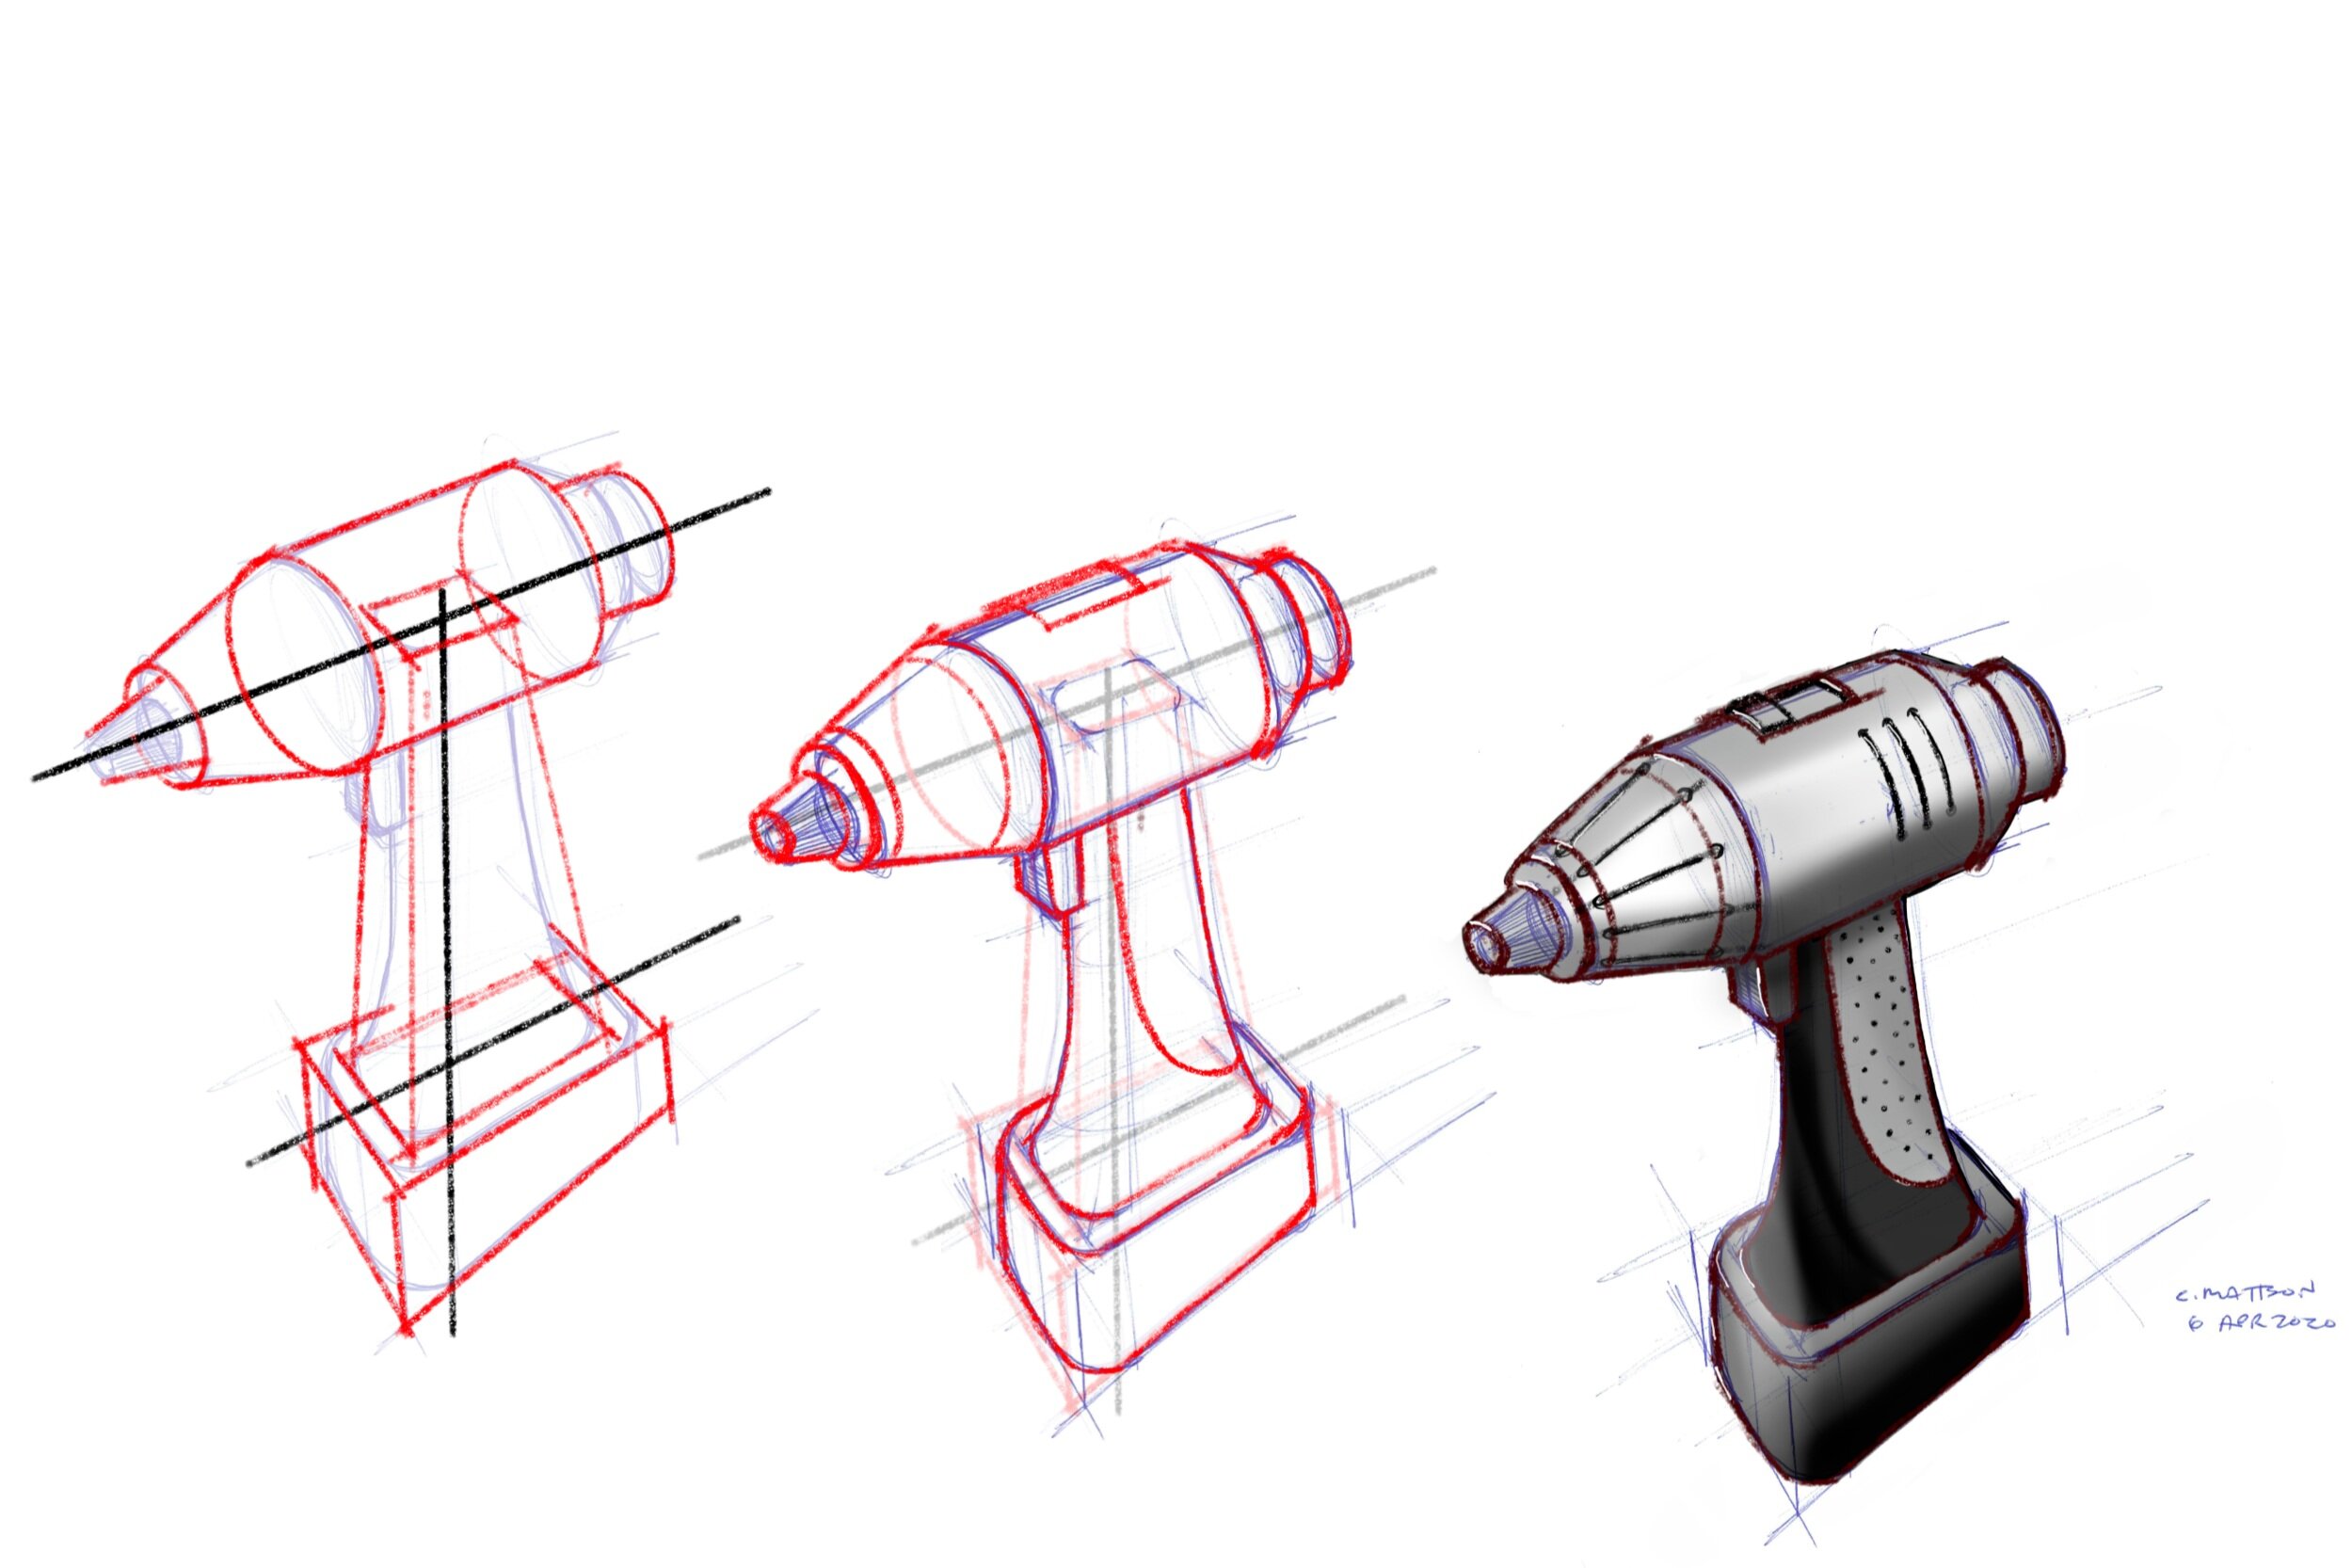
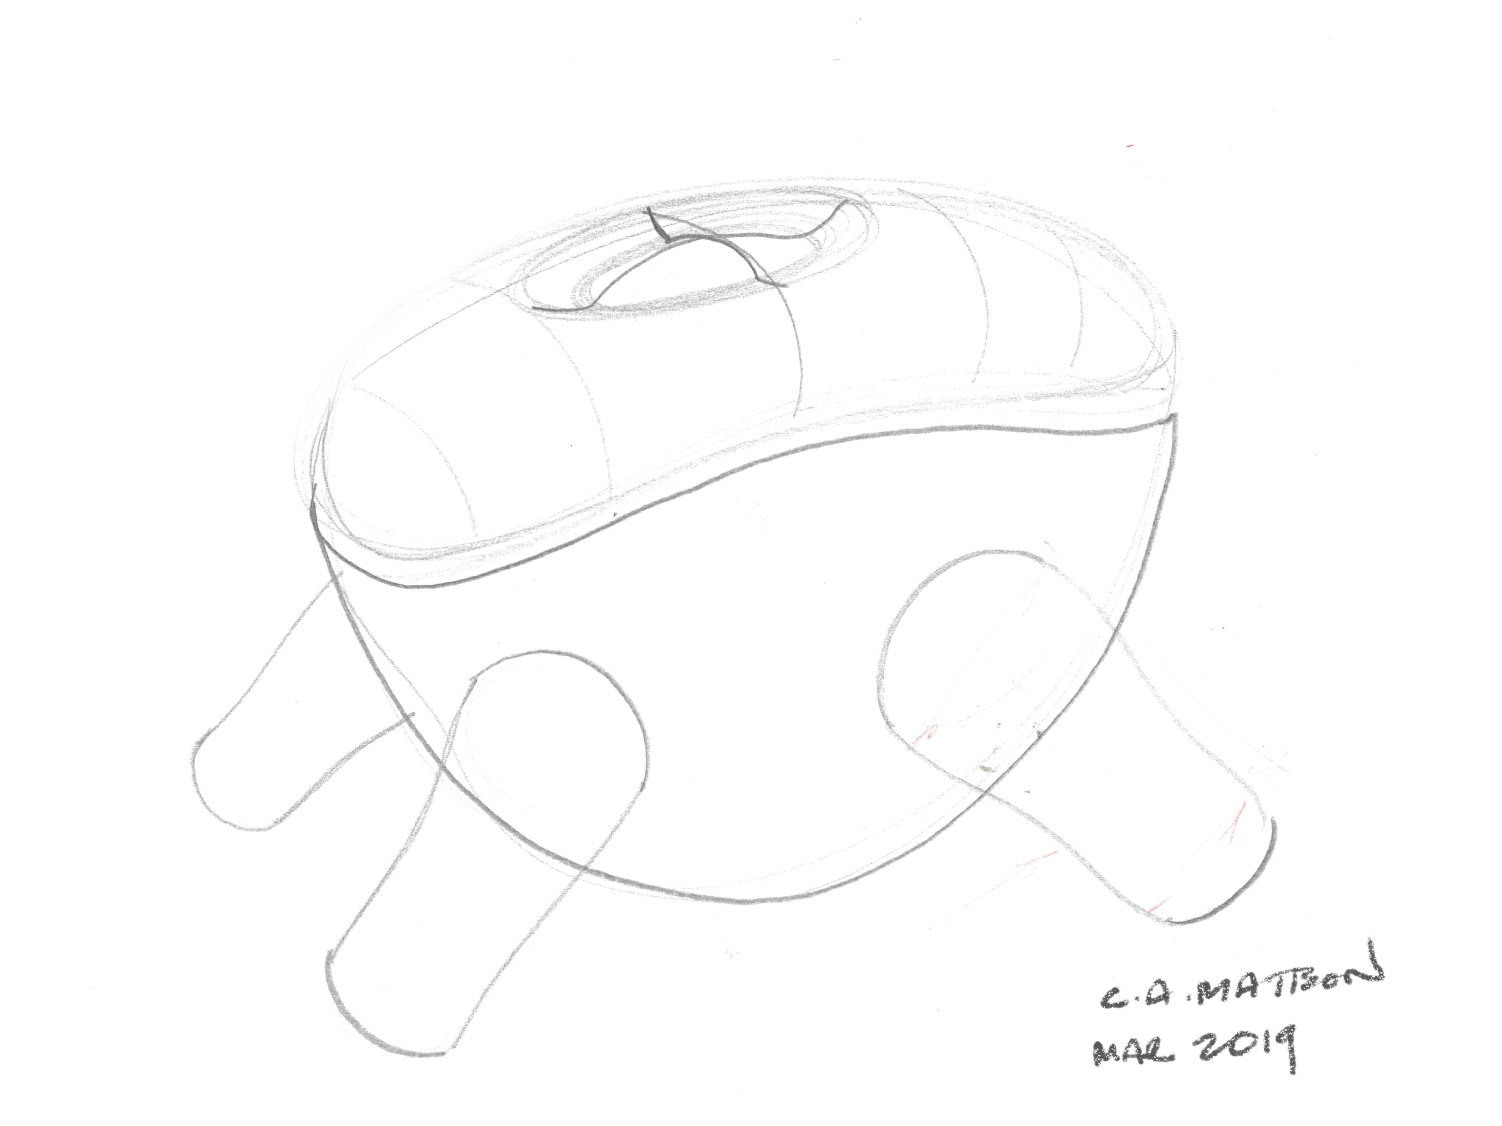
Sketching Exercises: To become better at sketching, you have to practice. The good news is that practicing 10 minutes a day can produce significant results in just a few weeks. I have created and tested a series of exercises to help engineers learn to sketch. Three of them are described below. To make sense of how these exercises produce results, understand the basic truth that all product sketches are combinations of basic shapes (cylinders, cuboids, pyramids, etc.), which are combinations of basic elements (lines, circles, ellipses, etc.). Therefore, we will start with element exercises.
1. Line Exercises
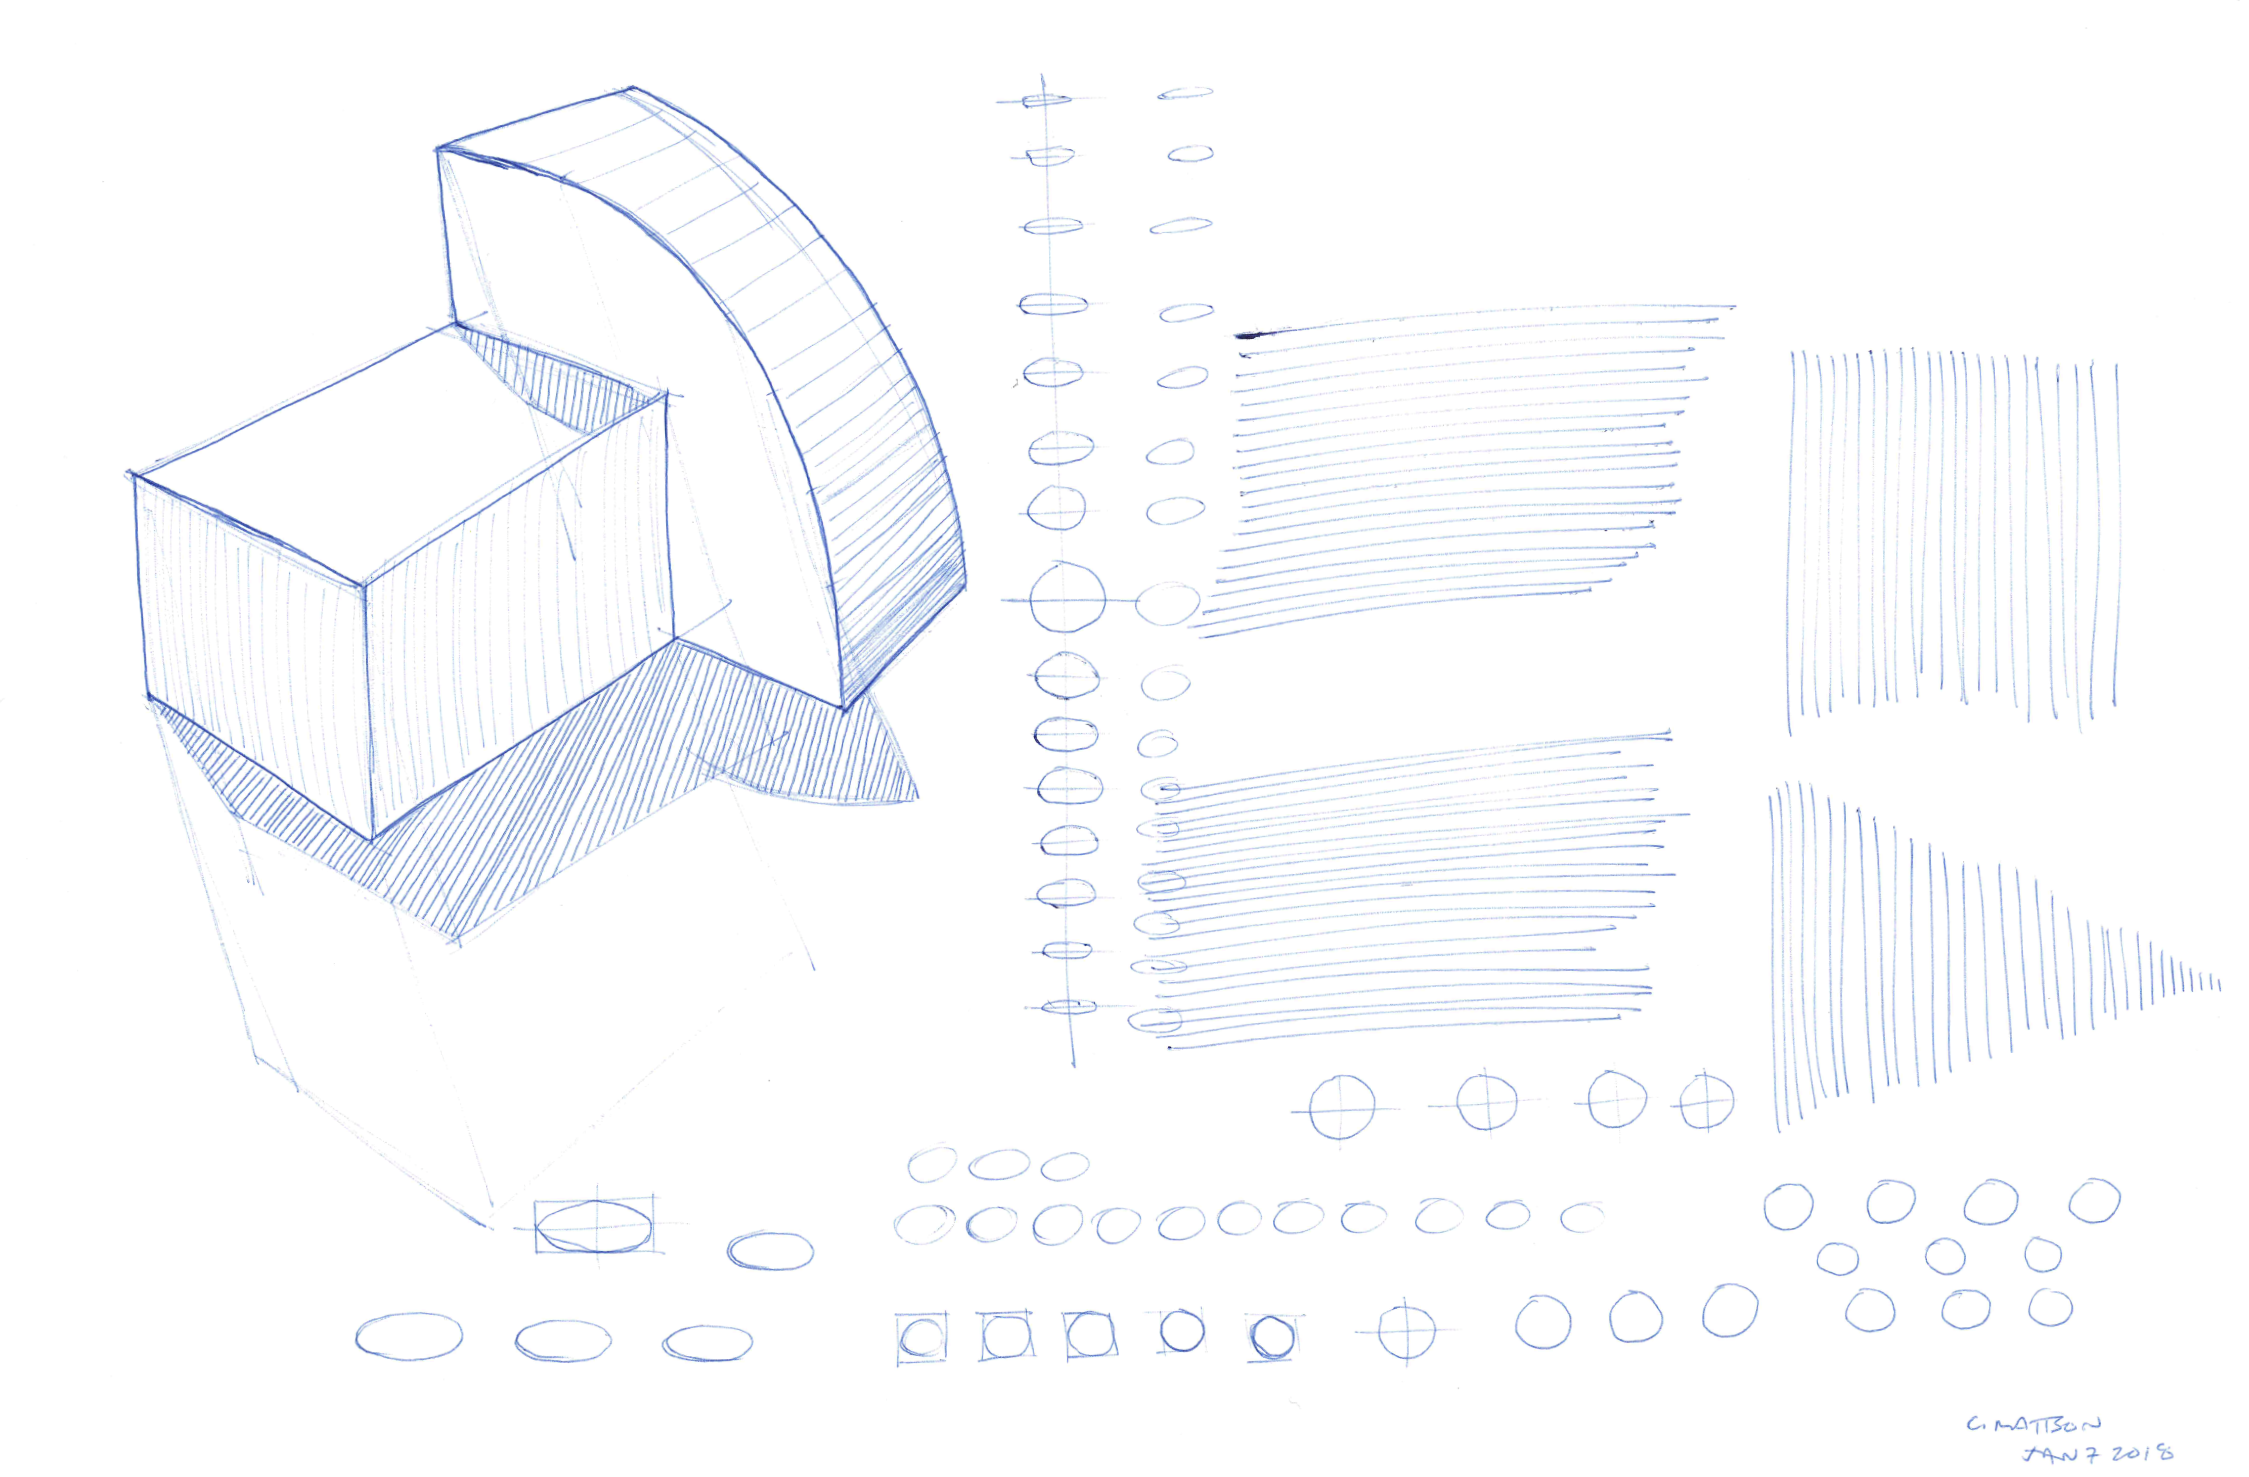
Draw straight lines for 2 minutes, using the dot-dot-line method, which is to draw two dots and connect them with a straight line. Place your pen on the first dot, look at the second dot and draw a straight confident line to it. Fill a half page as shown. Create short, medium, and long lines. Try horizontal and vertical lines.

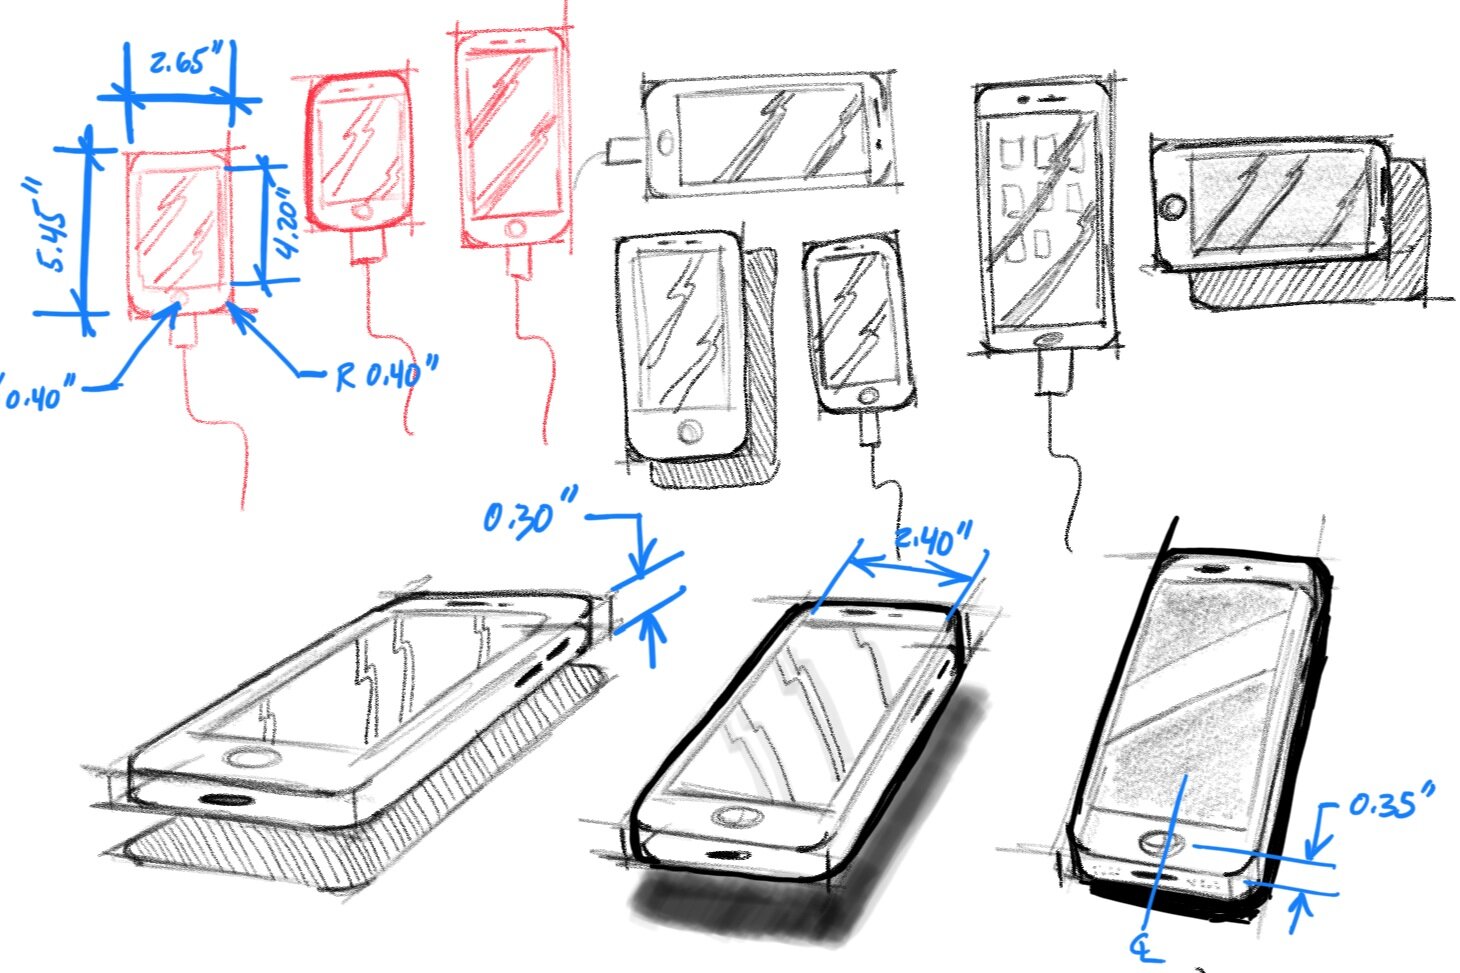
2. Draw 4 frames and crosshatch them in 3 minutes. Draw your first frame long, with a short height. Draw successive frames as approximately half the length and twice the height as the previous frame as shown below. This will help you make deliberate shapes, not random shapes – an essential skill in technical sketching.

3. Draw 3 cubes, one as oblique, one as isometric, and one as perspective. Draw and crosshatch a shadow for each box. Clean up your sketch by darkening some lines or adding shading. Spend only 5 minutes on this.

2. Circle Exercise
Draw circles for 2 minutes. For the first minute, draw a dot, then draw a circle around it. Fill half a page. Try small, medium, and large circles. Do your best to close the circle. Confident strokes help. For the next minute, draw circles within boxes. Have the circle touch each side of the box.

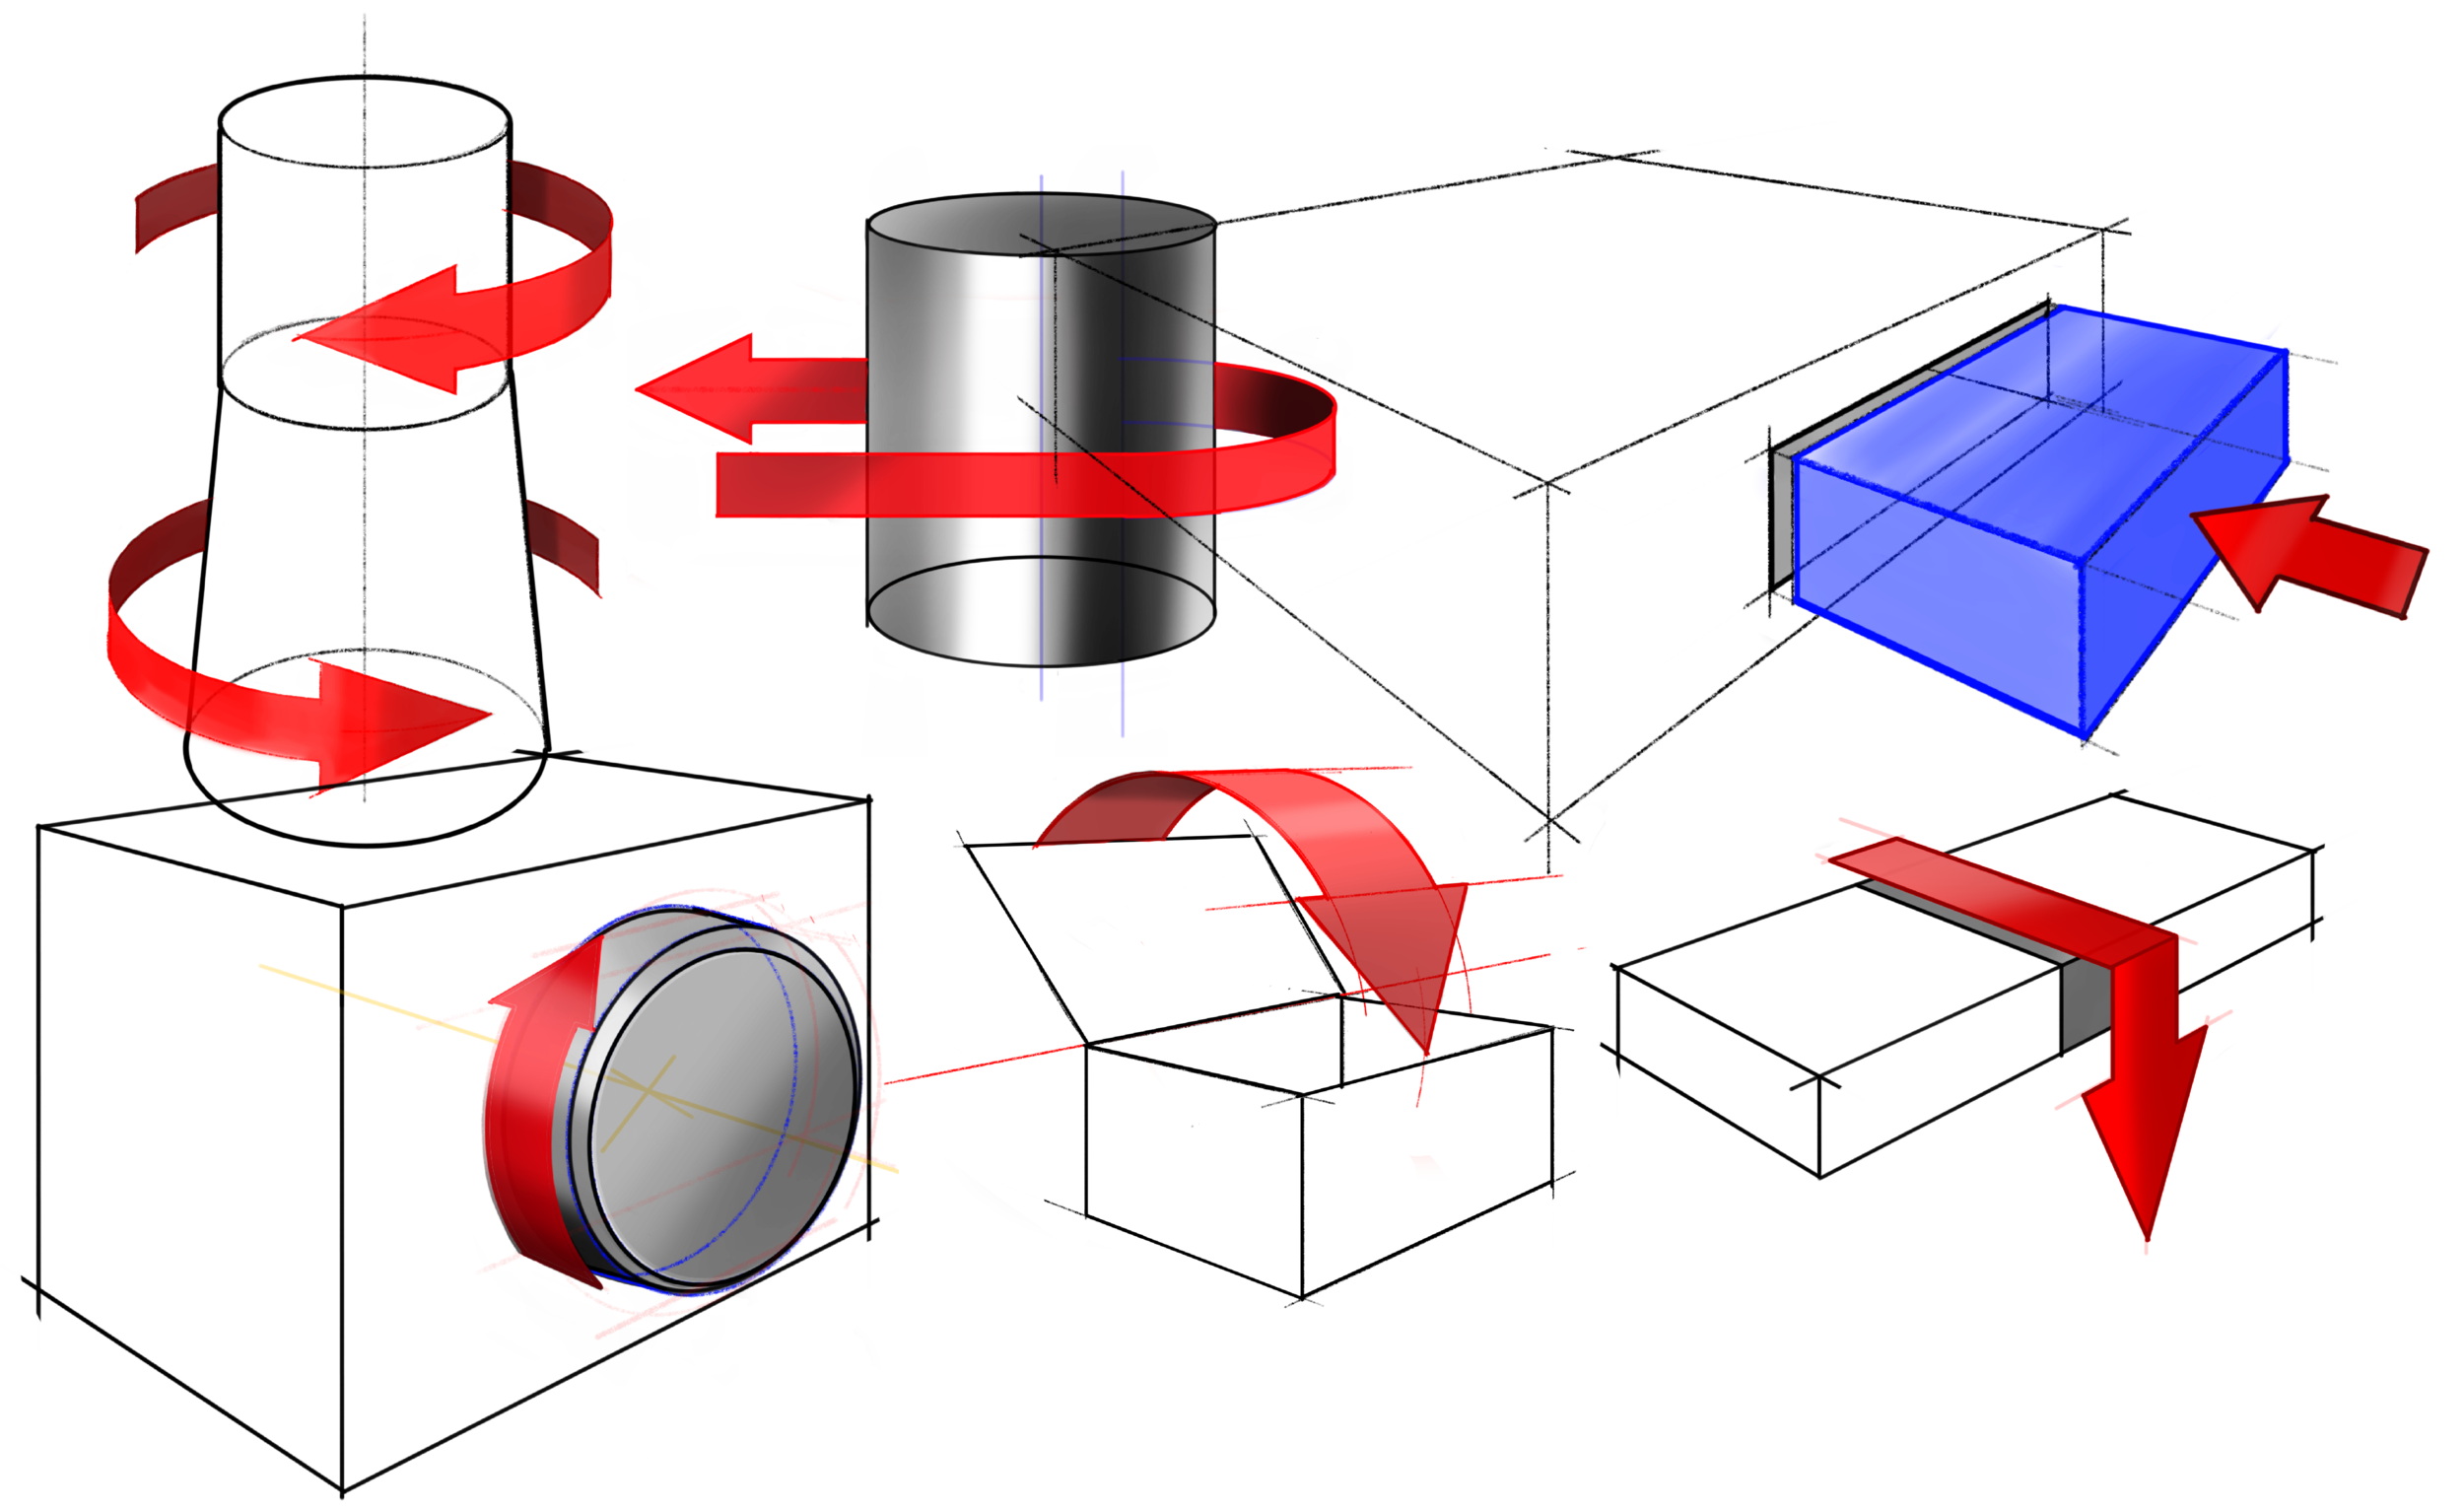
2. Draw 4 cross-hairs (two lines that will intersect at the center of the circle). Then draw three quarters of a circle within a box, and the last quarter as an inverted circle, as shown. Do this four times. Do this in such a way that it appears the circle is rotating counterclockwise. Draw arrows showing movement. Spend only 4 minutes on this.

3. Draw 4 spheres with shading and shadows. Include contour lines that point counterclockwise across sketches as shown. Clean up your sketch by darkening some lines. Spend only 4 minutes on this.

3. Ellipse Exercise
Draw ellipses for 2 minutes. For the first minute, draw a dot, then draw an ellipse around it. Fill at least a half page. Try small, medium, and large ellipses. Do your best to close the ellipse. Again, confident strokes truly help. For the next minute, draw ellipses within rectangles. Have the ellipse touch each side of the box in the center of the side.

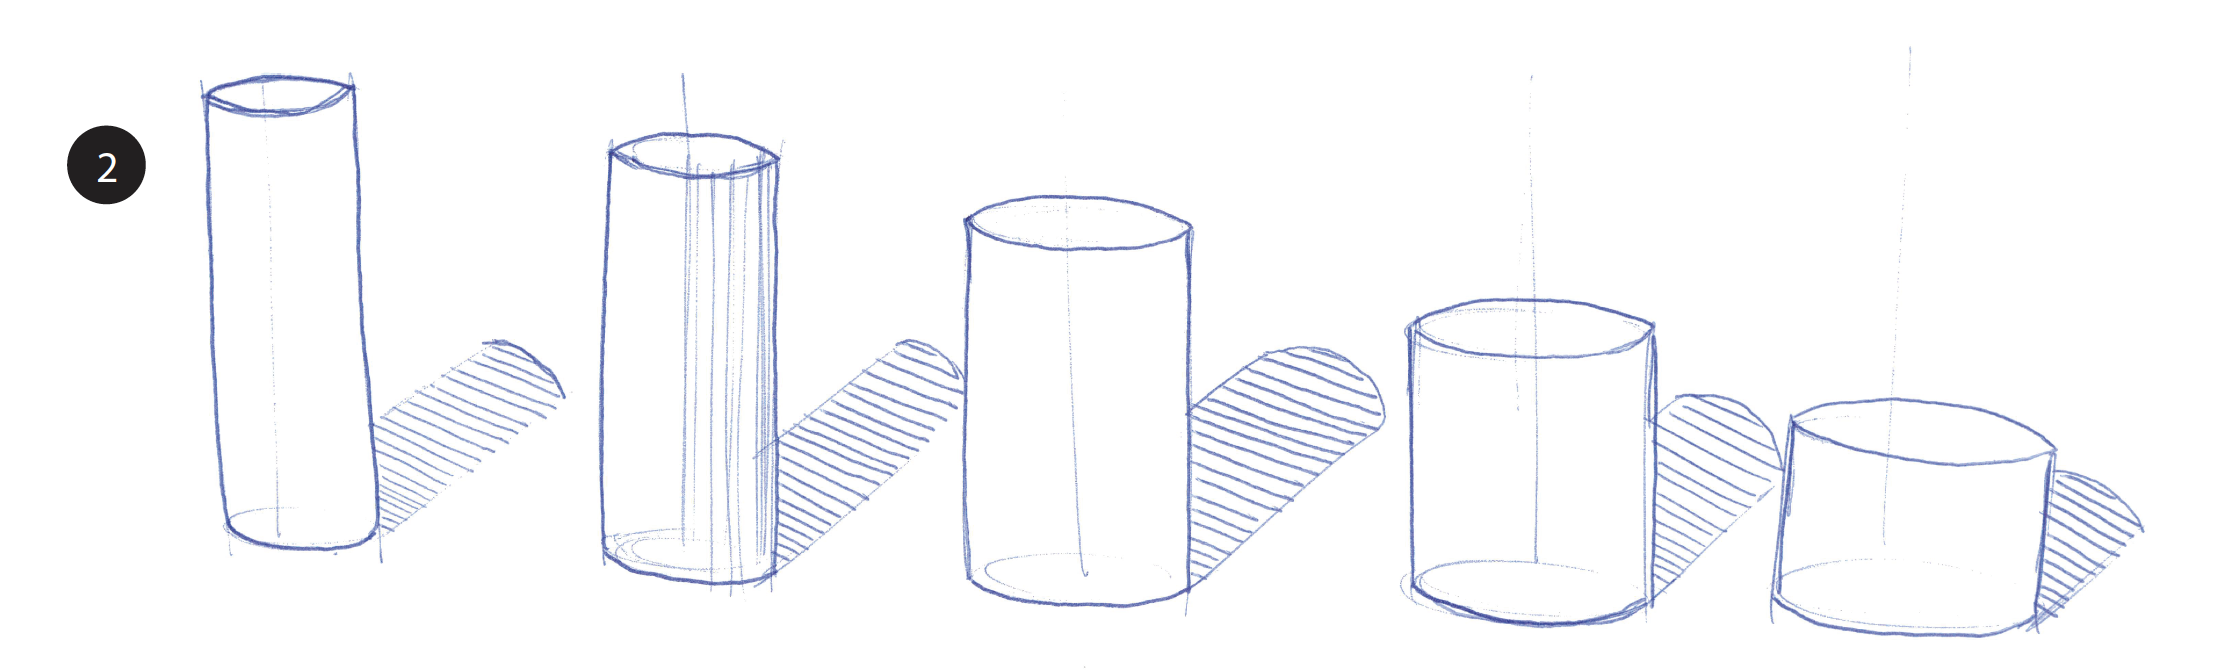
2. Draw 5 cylinders of decreasing height and increasing diameter. Draw their shadows and shade the cylinder, if you have time. Do this for 4 minutes only.
3. Draw 5 cones with shadows. Make the first cone narrow at the top and wide at the bottom. Draw successive cones with increasing top diameters and decreasing bottom diameters, as shown. Sharpen your sketch by darkening some lines and adding shading. Do this for 4 minutes only.

Doing these exercises will help you develop sketching skills, but only if you treat them as you would any muscle building effort. A little work each day, goes a very very long way. Try the following exercise routine. Date your pages, and examine them after two weeks. You will see that your skills are improving significantly.
Exercise Routine 1:
Day 1: Do line exercises
Day 2: Do line exercises
Day 3: Do circle exercises
Day 4: Do ellipse exercise
Day 5: Do circle exercise
Day 6: Do ellipse exercise
Day 7: Do circle exercise
Day 8: Sketch a page full of cubes (part 3 of line exercise)
Day 9: Sketch a page full of cylinders (part 2 of ellipse exercise)
Day 10: Sketch a page full of tapered parts (part 3 of ellipse exercise)
Day 11: Sketch a page full of spheres (part 3 of circle exercise)
Day 12: Sketch a page full of frames (part 2 of line exercise)
Day 13: Sketch a page full of cylinders (part 2 of ellipse exercise)
Day 14: Sketch a page full of cubes (part 3 of line exercise)
To keep your new skill growing, when you finish Exercise Routine 1, look for and begin Exercise Routine 2, which is shared in Part 2 of this article.
If you are unsure if you can do this, or that you want to spend your time this way, be inspired by these videos.
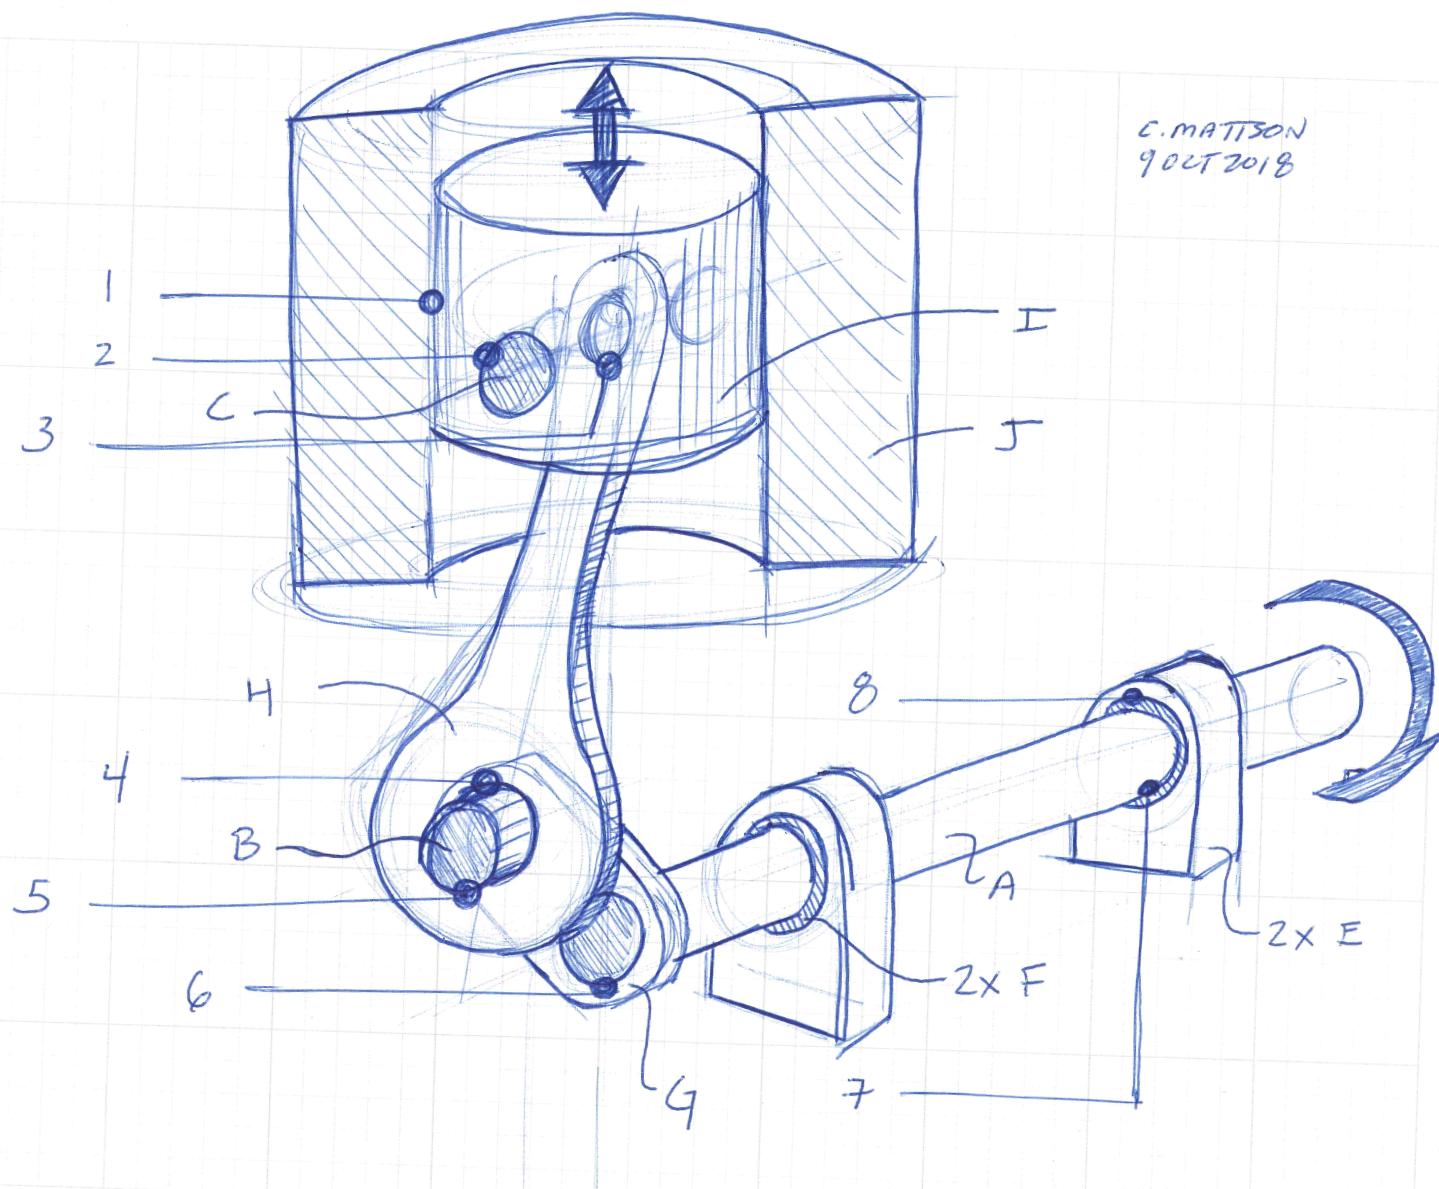
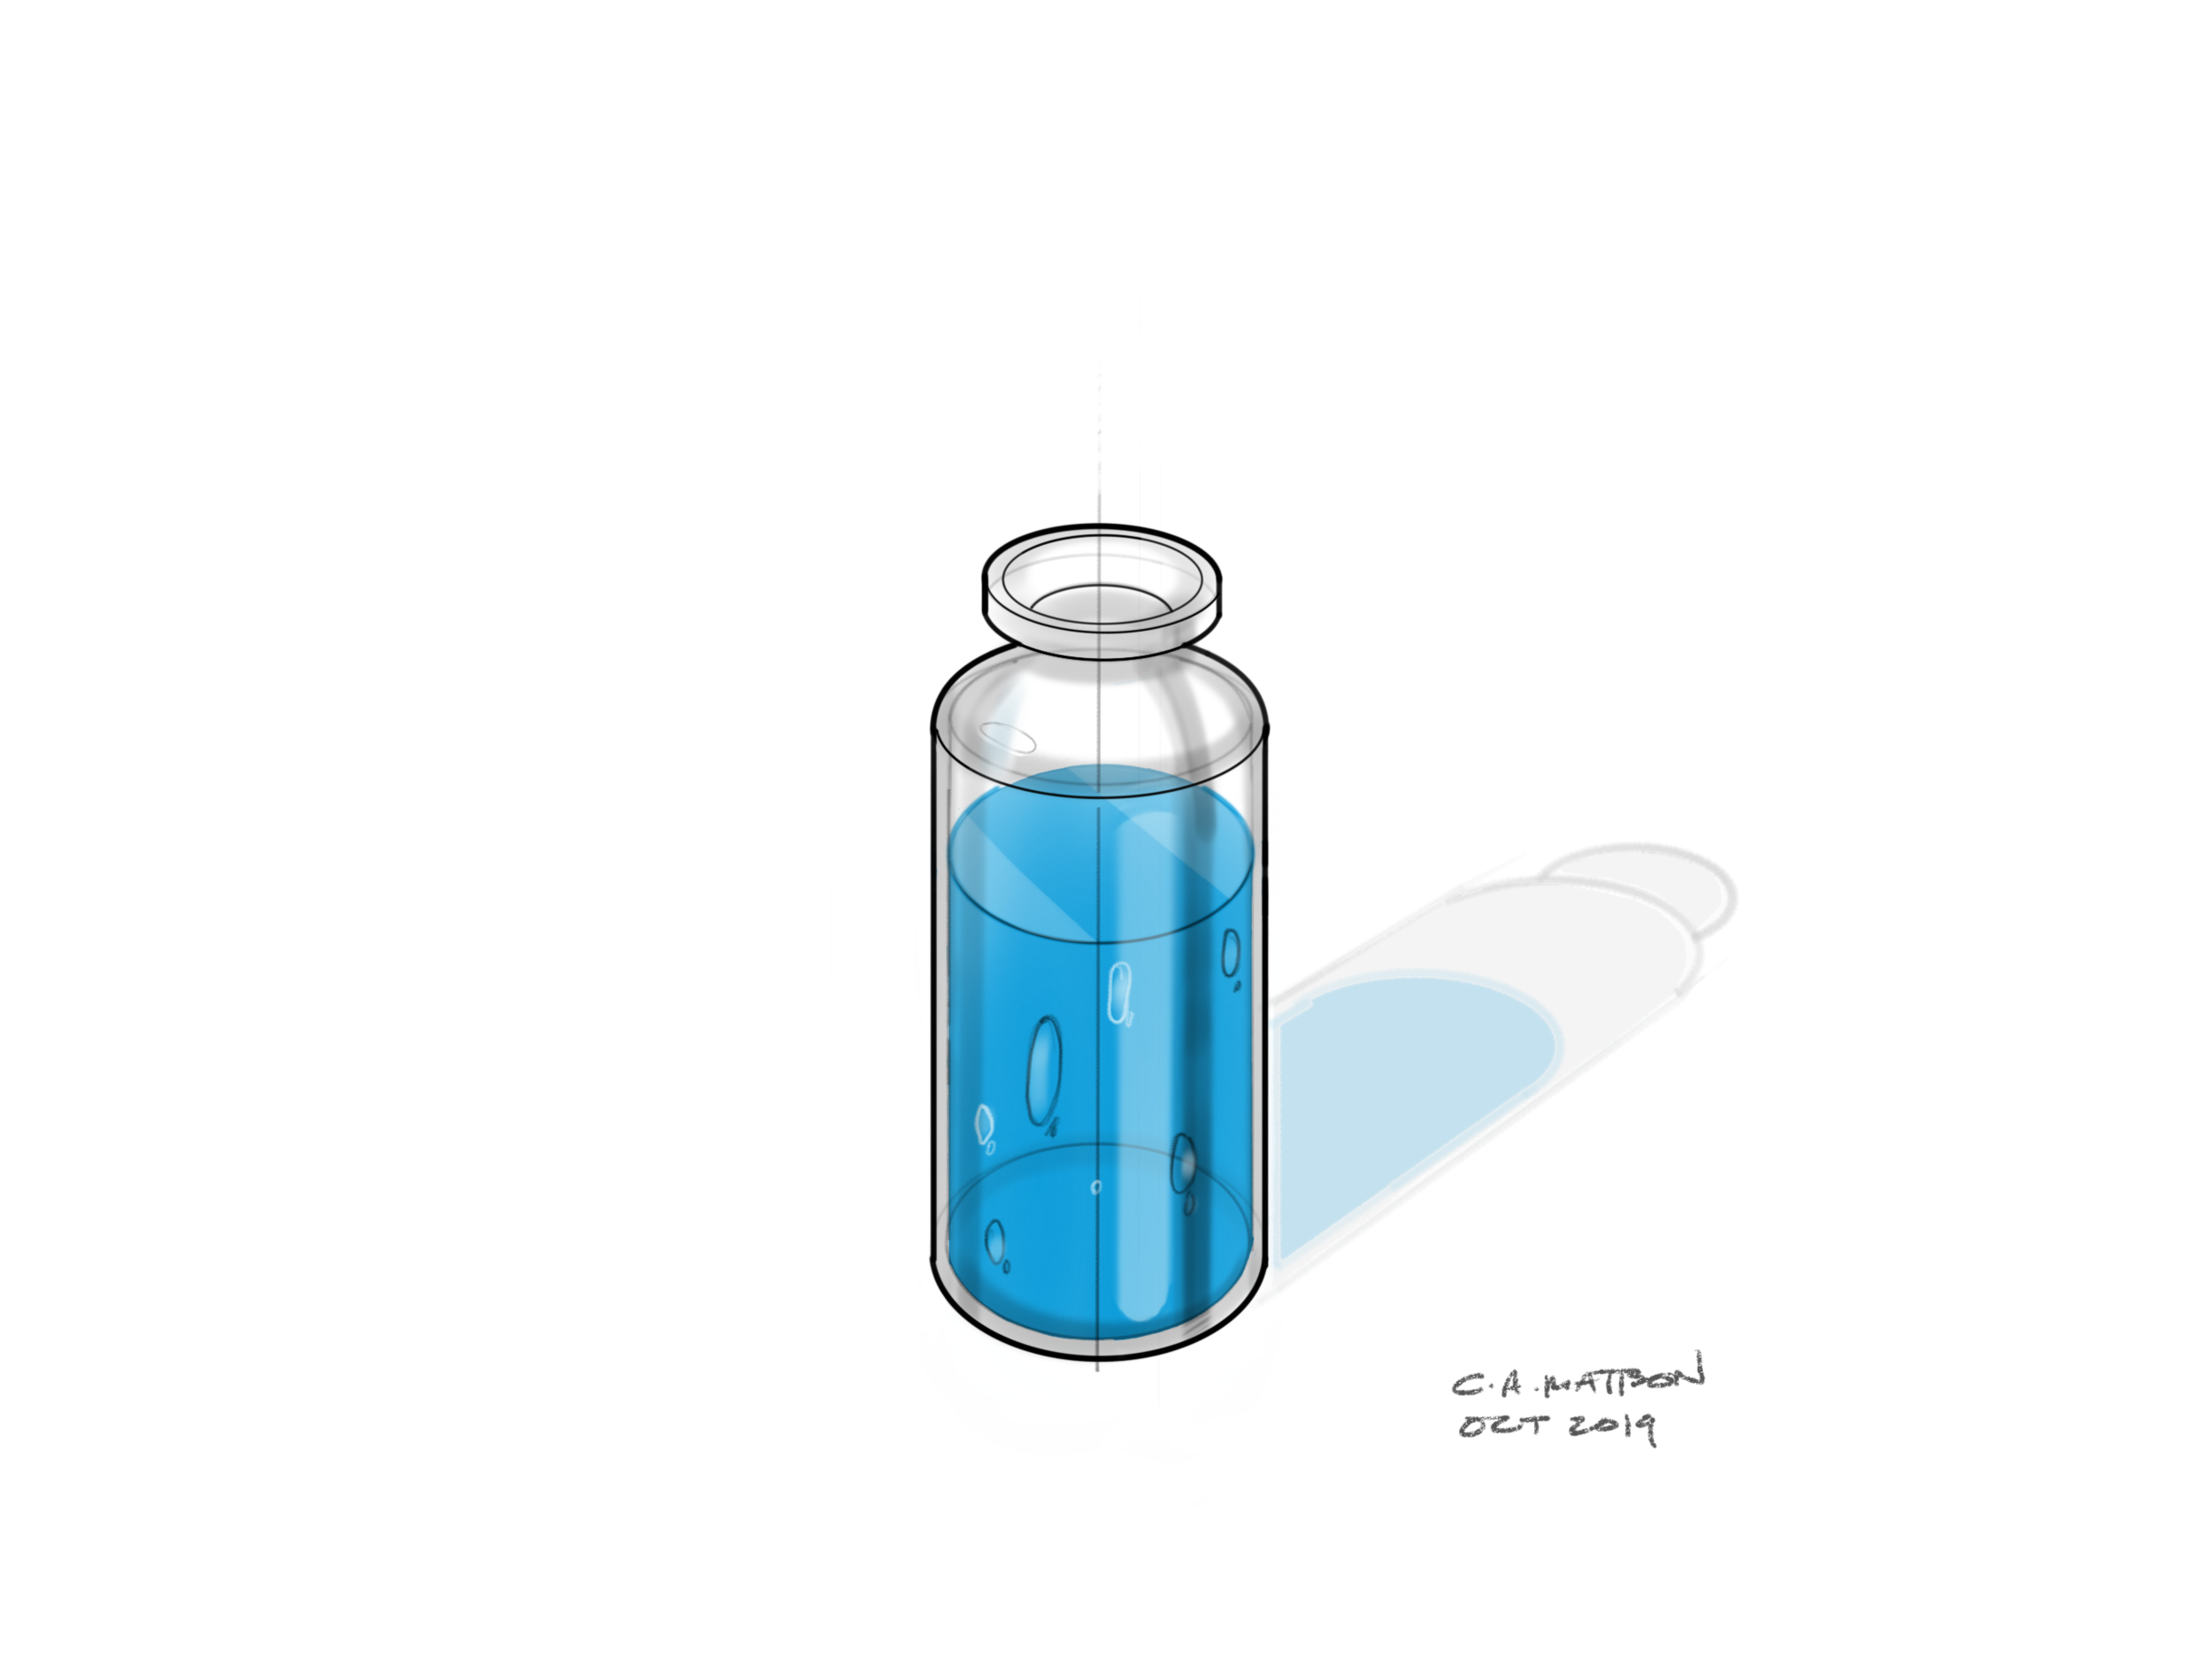
After just a few months of practice, you will be able to do any of this.
Check out Part 2 or the rest of the Short Course
To cite this article:
Mattson, Chris. “Learn to Sketch: Part 1.” The BYU Design Review, 25 Mar. 2020, https://www.designreview.byu.edu/collections/learn-to-sketch-part-1.