Design Principles behind Jack-o-Lantern Carving
The jack-o-lantern first originated with the Irish myth of a man named Jack who, banned from entering both heaven and hell, wandered the earth with a carved-out turnip containing a burning coal to light his way [1]. Now, jack-o-lanterns are a beloved Halloween tradition, and we’ve made a significant upgrade from turnips to pumpkins.
I have vivid memories of the first time I carved a jack-o-lantern. I was visiting my grandparents in upstate New York during fall break. We had found massive pumpkins at the local pumpkin patch (but then again, isn’t everything massive when you’re four years old?). By the time we finally finished scooping out the guts, I hardly had any energy left to carve the face. Carving jack-o-lanterns was a lot more work than I thought it would be.

I learned the hard way that carving a jack-o-lantern takes dedication and planning. I’ve learned a few more lessons from pumpkin carving since then and, in the spirit of Halloween, I’ll share those with you today.
Plan Ahead
A good design requires careful and thoughtful planning. This was the first lesson that pumpkin carving taught me. You’ll want to plan ahead by being familiar with the procedure and purchasing all the necessary tools. A good knife is a must, and around Halloween you can find carving kits with just about anything you could ever dream of needing for the task, like this one below:

In addition to planning for your tools, you’ll want to plan for your end product. If you come up with your plan for carving your pumpkin before you even visit the patch, you’ll have a world of options. But if you select your design after choosing your pumpkin, you’ll be limited by its size, shape, and even color. Take that extra time to think ahead, because it will pay off.
The same principle of planning applies once you’ve found your pumpkin and you’re ready to start carving. Unless you’re a regular da Vinci, odds are your free-handing isn’t as skillful as you’d like– especially when you’re using a knife instead of a pen. Cue every artist’s favorite trick: tracing. Brilliant and simple, this technique has saved many a jack-o-lantern from disaster. You can print off any image from the internet (specifically for jack-o-lanterns, or not), cut out the shapes, and outline them directly onto your pumpkin with a pen or Sharpie.
If you’re a more advanced artist, or if you’d like to take more creative liberty, you can draw directly on to your pumpkin– no tracing necessary. But taking the time to plan your design with the pen before you finalize it with the knife will ensure that you won’t run out of room and that you’ll get your proportions just the way you intended them.
Affect Perception by Using Negative Space

Positive vs. negative space. Image courtesy of https://globalgoodness.ca/en/__trashed-33/
One of the most creative ways to create a unique jack-o-lantern is by utilizing the negative space. Negative space in art creates a silhouette of your subject. It can completely transform the mood of your art. This technique expands the creative possibilities of jack-o-lantern designs.
Consider the examples below: one spider is created from the light coming through the pumpkin, and the other is created by the silhouette. The third jack-o-lantern combines the designs of the previous two. What is the effect of choosing one concept over the other?

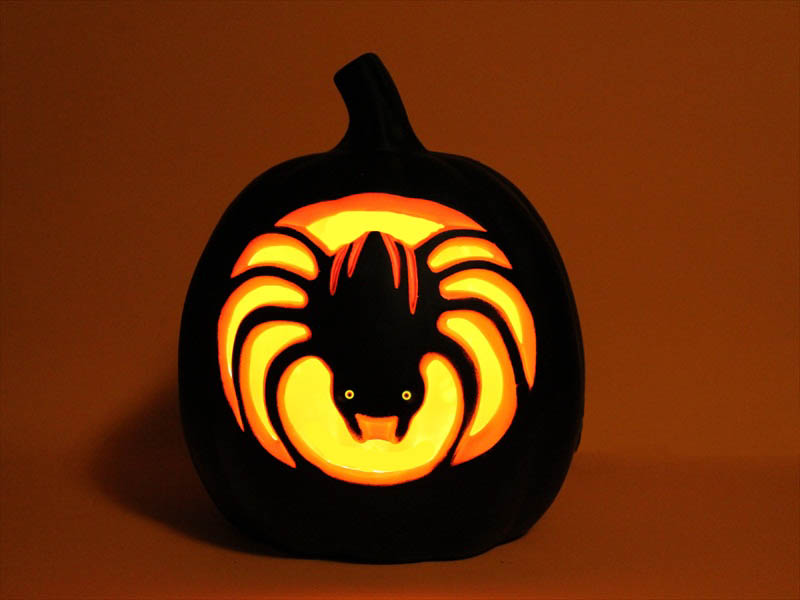
Photo courtesy of https://www.flickr.com/photos/thehalloweenqueen/8110028935

Photo courtesy of https://www.pinterest.com/pin/spider-jack-o-lantern--476537204290755320/
Negative space plays on how people perceive and interpret an artistic concept. In design, it’s important to consider how the consumer expects to perceive something and how they will experience it. Do you want to play into what the consumer is expecting or create a more shocking effect? The artistic use of light and darkness, in particular, have the power to evoke emotional responses. Play around with negative and positive space to manipulate the mood of your art. When carving jack-o-lanterns, you can even create “shading” by carving partially through the rind. Don’t be afraid to do the unexpected. Which brings us to our third, and final, lesson:
Be Non-Conventional
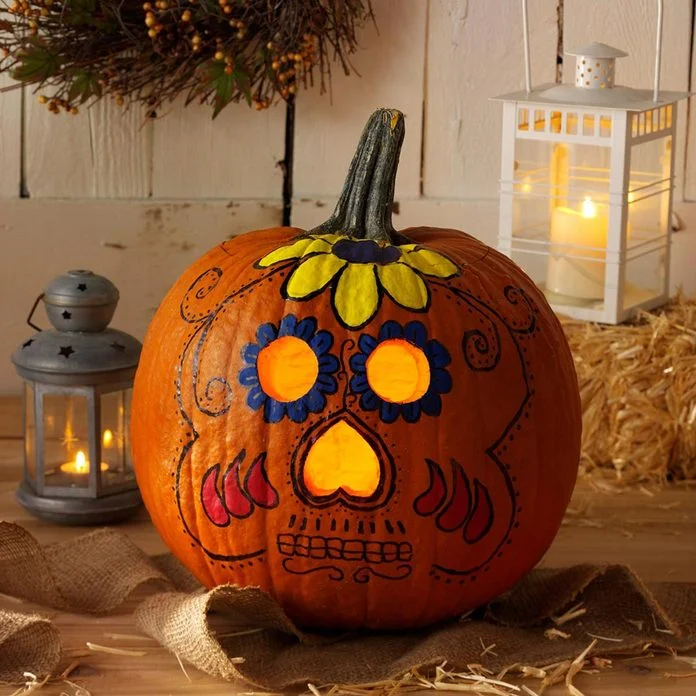
Everyone loves a classic smiling face carved into the side of a pumpkin. But the best jack-o-lanterns are the ones you’ve never seen before. Creativity is of high value in this arena. You might consider using multiple pumpkins to create a larger image. You might use paint, glitter, or other adhesives. You might angle your pumpkin on its side to use the stem as a feature of your jack-o-lantern.

Image courtesy of https://www.huffpost.com/entry/jack-o-lantern-ideas_b_8288574/amp
How does this relate to design? Don’t be afraid to look at things differently. Don’t fall into the trap of “this is the way it has always been done.” What you are used to is not necessarily the best way of doing things. Being willing to try new ideas when there is already a tried and true method may be intimidating. But such a willingness can help uncover better, more efficient, or simply more exciting solutions to age-old problems.
In Conclusion
When you are designing, whether for your local pumpkin carving contest or for your product design team at work, remember the importance of planning ahead, using artistic techniques (such as use of negative space) to affect perception, and to explore crazy and non-conventional ideas. Not every path you take will work out, but by implementing these principles, you’re sure to create better concepts. Happy Halloween and happy designing!
References:
[1] https://www.history.com/news/history-of-the-jack-o-lantern-irish-origins
To cite this article:
White, Natalie. “Design Principles behind Jack-o-Lantern Carving.” The BYU Design Review, 27 Oct. 2022, https://www.designreview.byu.edu/collections/design-principles-behind-jack-o-lantern-carving.